How to track ROAS by channel in the United States

Whether you manage eCommerce, lead gen, or apps, this guide shows you exactly how to build a reliable, privacy-safe workflow to track ROAS by channel across Google Ads, Meta, TikTok, LinkedIn, and Microsoft Ads using GA4 and optional Looker Studio. You’ll import non-Google ad costs, calculate ROAS correctly, align attribution windows, and set up verification routines—so your team can trust the numbers.
- Estimated time: 1–2 days for initial setup; 1–2 hours/week for maintenance
- Difficulty: Intermediate (some steps advanced)
- What you need: GA4 property (admin access), ad platform admin access, consistent UTM standards, Google Tag or GTM, consent banner/CMP (for US privacy), optional connectors/ETL, and Looker Studio
Important note: Throughout this guide, “revenue” means your analytics revenue (e.g., GA4 purchase value). Decide whether to include or exclude taxes/shipping before you start, and be consistent.
Step 1 — Prepare your tracking foundations
Do this first. If your foundations are shaky, ROAS won’t be trustworthy.
- Standardize UTMs to match GA4 channel groups
- Use utm_source to name the platform (e.g., google, meta, tiktok, linkedin, microsoft).
- Use utm_medium values that align to GA4’s default channel grouping (e.g., cpc for paid search; paid_social for paid social; display for display).
- Use utm_campaign for the campaign name or ID; optionally add utm_content and utm_term.
- Create and share a one-page UTM convention doc. Enforce it in ad build templates.
Checkpoint: If campaign names often show as (not set), your UTMs or auto-tagging are broken. Fix UTMs and confirm your GA4 tag fires on every landing page.
- Confirm GA4 key events and payloads
- For eCommerce: Ensure purchase events include value, currency, and items[]. For lead gen: ensure a single, deduplicated conversion event with value where applicable.
- Validate with GA4 DebugView and your browser’s tag assistant before proceeding.
- Link Google Ads to GA4
- In GA4: Admin > Product Links > Google Ads Links; complete the linking wizard. In Google Ads, verify under Tools > Data Manager.
- Linking enables cost and conversions sharing for Google Ads automatically.
- Set or review your channel grouping
- Use GA4’s Default Channel Grouping or create a Custom Channel Group that reflects your taxonomy. Make sure your utm_medium values map as expected.
Helpful references:
- See Google’s documentation on consent and tag behavior in Consent Mode v2 in the 2025 guides: Google Tag Platform — consent concepts.
Step 2 — Bring in ad cost data for non-Google platforms
GA4 natively links with Google Ads. For Meta, TikTok, LinkedIn, and Microsoft Ads, import cost data so you can calculate ROAS in one place.
Option A — Manual CSV import (fastest to start)
- In GA4: Admin > Data collection and modification > Data import > Create data source > Choose “Cost data”.
- Prepare a CSV with at minimum: date (YYYY-MM-DD), source, medium, campaign, cost, clicks, impressions.
- Map columns to GA4 fields and upload.
Option B — Automate via connectors or ETL (best for scale)
- Use a trusted connector (e.g., data integration tools) or build an ETL that fetches daily platform cost and posts to GA4 Cost Data Import or stores in BigQuery for blending.
Verification routine
- After each import, compare platform totals for a single date to GA4’s imported cost. Aim for <1% row error rate.
- If you see errors, check date format, column headers, and whether campaign identifiers match your UTMs.
Authoritative resource: Review GA4’s data-source types and cost import behavior in Analytics Help, and vendor walkthroughs like OWOX and Funnel when you need schema examples: OWOX — import non-Google ad cost data to GA4 and Funnel — GA4 cost upload configuration.
Step 3 — Calculate ROAS correctly (avoid row-level errors)
ROAS formula: ROAS = Revenue ÷ Ad Spend
Where to compute it:
- In GA4: You can create a calculated metric (Admin > Custom definitions > Calculated metrics) if you have both revenue and imported ad cost. Note that GA4 UI capabilities change; many teams still compute ROAS in BI.
- In Looker Studio: Create a calculated field using aggregation to avoid row-level division:
- ROAS = SUM(Revenue) / SUM(Cost)
Common pitfall: Dividing non-aggregated metrics in a table leads to incorrect ROAS. Always wrap with SUM(). See the official calculated field guidance: Looker Studio — calculated fields and Looker Studio — functions.
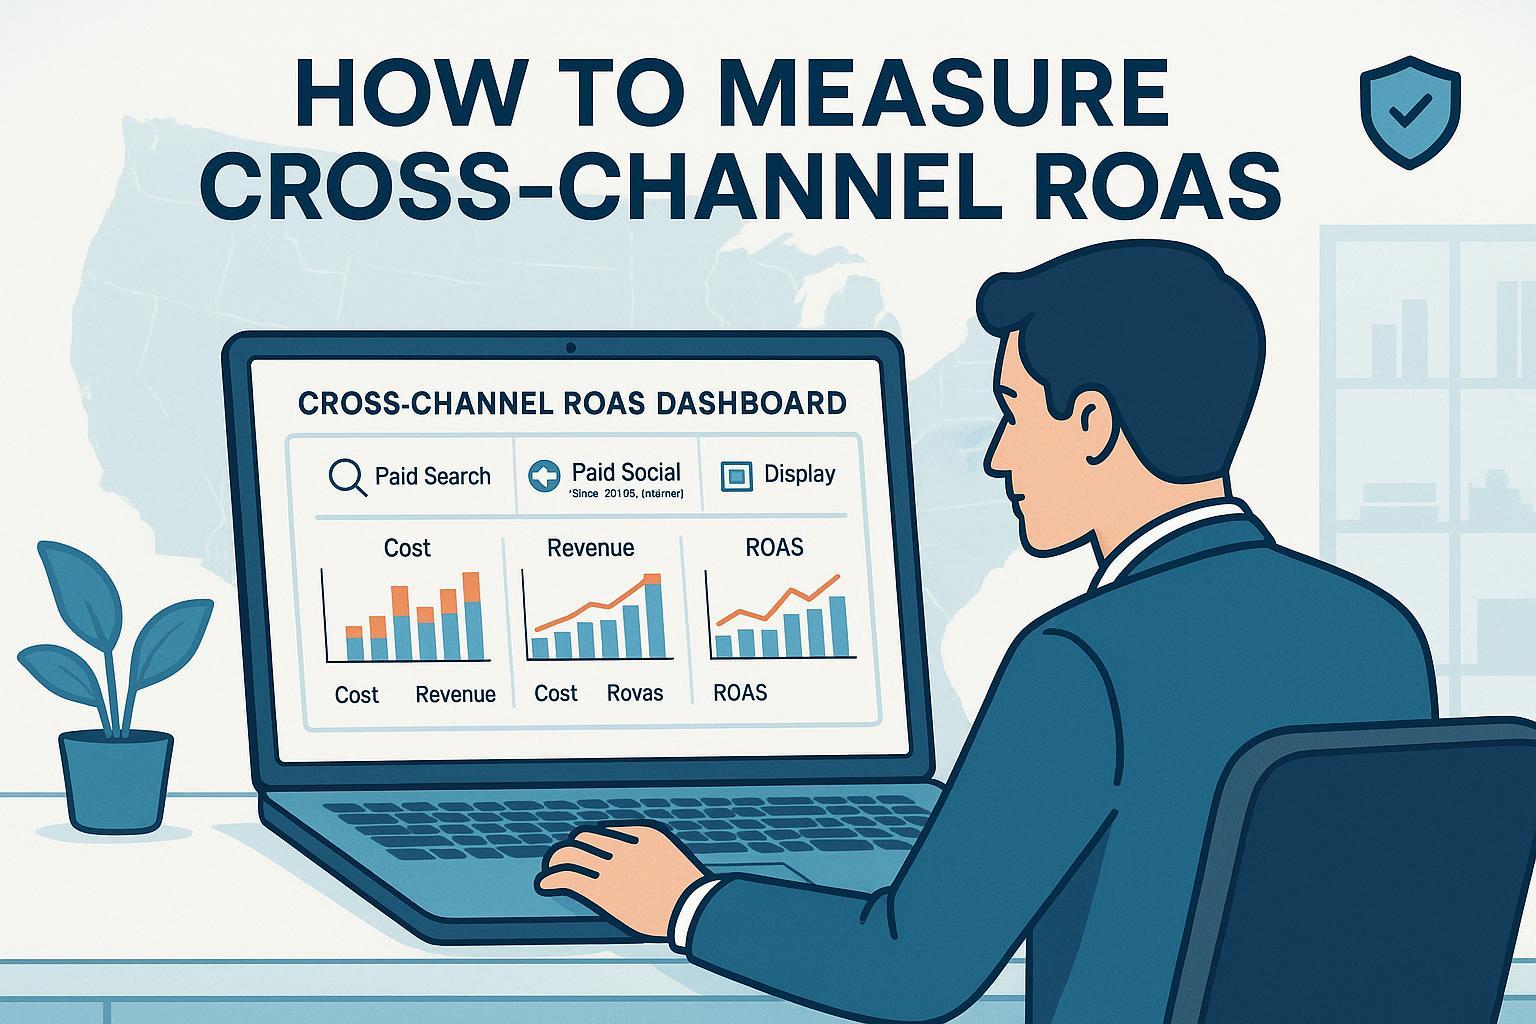
Step 4 — Build a ROAS-by-channel dashboard
Start with a minimal, trustworthy view:
- Filters: Date range, channel group, platform, campaign.
- Scorecards: Total Revenue, Total Cost, Blended ROAS, Conversions.
- Tables:
- By Channel: Default Channel Group, Sessions, Cost, Revenue, ROAS, Conversions.
- By Campaign: Source/Medium, Campaign, Clicks, CPC, Cost, Revenue, ROAS, Conversion rate.
- Visuals: A bar chart showing ROAS by channel; a time series for Revenue, Cost, and ROAS.
Tip: If you didn’t import cost into GA4, blend data sources in Looker Studio—GA4 for revenue/conversions and platform connectors for cost—joining on date and campaign name/ID. LovesData’s guidance on data blending is a practical primer: Mastering data blending in Looker Studio.
Step 5 — Align attribution windows and reconcile differences
Expect ROAS to differ between GA4 and ad platforms. Align windows and models, then document your “source of truth” per use case.
- GA4 attribution (2025): Data-Driven Attribution (default), Paid & Organic Last Click, and Google Paid Channels Last Click. Lookback windows can be configured in Admin and changes are not retroactive. See the official settings reference: Google Developers — AttributionSettings.
- Platform differences: Platforms may include view-through and modeled conversions (e.g., Meta often applies 1-day view, 7-day click by default), which GA4 does not count the same way.
Reconciliation workflow (use this lightweight routine):
- Align date ranges, time zones, and attribution windows in each platform and GA4.
- Map conversion definitions (which GA4 event equals which platform conversion action).
- Exclude view-through conversions in platform reports when comparing to GA4.
- Compare last 7 and 28 days by campaign. Investigate outliers above your tolerance (e.g., 10–20%).
- Document residual differences and agree when to use GA4 (cross-channel finance reporting) vs platform data (channel optimization).
For deeper model context, practitioner explainers complement the Admin API; see 2025 primers like the Search Engine Land GA4 attribution guide and LovesData’s GA4 attribution overview: Search Engine Land — GA4 attribution guide and LovesData — GA4 attribution models.
Step 6 — Verify and QA on a schedule
Make QA a habit so ROAS stays trustworthy.
- UTMs: Spot-check live ads to confirm utm_source, utm_medium, utm_campaign. Fix gaps immediately.
- Purchase/lead payloads: Use DebugView and your tag assistant to confirm value, currency, and items[].
- Cost imports: Confirm that yesterday’s cost arrived; check GA4 Data Import error logs.
- ROAS sanity: Compare GA4/Looker Studio blended ROAS against each platform within your agreed tolerance. Investigate outliers.
Troubleshooting tips
- Campaign = (not set): Review auto-tagging (Google Ads), UTMs, and landing page tagging; see practical troubleshooting from analytics experts such as Tatvic and Analytics Mania.
- Row-level ROAS errors: Change ROAS formula to SUM(Revenue)/SUM(Cost) in Looker Studio.
- Cost import failures: Validate date format YYYY-MM-DD, ensure column mapping matches GA4 fields, and verify campaign identifiers align with UTMs.
Helpful explainers: Tatvic — remove (not set) in GA4 and Analytics Mania — (not set) troubleshooting.
Step 7 — Harden accuracy with server-side tracking
As signals fragment in the US (consent, iOS, browser restrictions), server-side methods can recover match rates and improve modeled conversions.
- Google Ads Enhanced Conversions (web): Enable in Google Ads (Tools & Settings > Conversions). Send hashed user data (SHA-256) via GTM or gtag. Monitor the Enhanced Conversions diagnostics. See: Google Ads Help — Enhanced conversions diagnostics for leads and the server-side setup notes in Google Tag Platform — server-side Ads setup.
- Meta Conversions API: Send server events with event_id for deduplication against the Pixel. Validate in Test Events and monitor diagnostics. Start with the official overview: Meta — Conversions API.
- TikTok Events API: If you advertise on TikTok, implement server events and include identifiers like _ttp. Review their Events API materials: TikTok — Events API.
- LinkedIn and Microsoft Ads: Use LinkedIn’s Conversions API and Microsoft’s Offline Conversions to send server-side or offline events as needed. A starting point is Microsoft’s documentation: Microsoft Advertising — ApplyOfflineConversions API.
Key cautions
- Deduplicate: Match event_id or click IDs to avoid double counting.
- Consent-aware: Only send user data when you have the appropriate permissions; respect opt-outs.
- Test meticulously: Use each platform’s diagnostics (Meta Test Events, Google Ads diagnostics) before scaling.
Step 8 — Stay compliant in the United States (CCPA/CPRA) and implement Consent Mode v2
If you serve California residents, you must provide do-not-sell/share choices and honor signals such as Global Privacy Control. Consent and privacy settings directly affect measured conversions and ROAS.
- CCPA/CPRA overview and obligations: Provide a clear “Do Not Sell or Share My Personal Information” link, at least two opt-out methods, and honor requests for 12 months. Review the California Attorney General’s page: California OAG — CCPA.
- Global Privacy Control (GPC): California’s regulator recognizes GPC as a valid opt-out signal; ensure your CMP handles it correctly.
- Consent Mode v2 signals: ad_storage, analytics_storage, ad_user_data, ad_personalization. Map your CMP events to these signals via gtag or GTM. When denied, Google may use modeled conversions. Learn how the 2025 Consent Mode v2 works here: Google Tag Platform — consent mode concepts.
Practical implications for ROAS
- Expect fewer observable conversions when consent is denied; modeled conversions may partially compensate in Google surfaces. Document this in your reconciliation notes.
- Keep a consent-rate KPI on your dashboard; a drop in consent rates can depress measured ROAS even if true performance is stable.
Advanced — BigQuery export and alternative workflows
- GA4 BigQuery export: Link GA4 to BigQuery (Admin > BigQuery Linking) to analyze event-level data, build multi-touch models, or join with CRM. Start with the developers’ overview: GA4 BigQuery export — overview.
- If you skip GA4 cost import: Blend in Looker Studio (platform cost + GA4 revenue), or use a spreadsheet workflow temporarily with daily exports and SUMIFs.
- For apps: Link Firebase to GA4 and ensure your ad platforms’ app campaign cost and SKAdNetwork caveats are understood before you compare ROAS.
Common pitfalls and quick fixes
- ROAS looks inflated in a platform vs GA4: Check view-through inclusion in the platform report; adjust to click-only for comparison and align lookback windows.
- Channel grouping looks off: Your utm_medium likely doesn’t match GA4 rules. Update UTM governance or create a custom channel group.
- Cost shows but ROAS is null: Your ROAS field is dividing by zero due to missing revenue or cost on some rows—wrap the denominator with NULLIF or CASE to avoid NaNs in BI tools.
- Consent mode is active but conversions dropped: Verify CMP-to-tag mapping; test denial and grant flows; confirm modeled conversions are eligible in your setup.
Your next steps
- Finish Step 1 foundations today. Share your UTM doc.
- Import one week of Meta and LinkedIn cost via CSV to validate your schema.
- Build a minimal ROAS dashboard with only five fields: Date, Channel, Cost, Revenue, ROAS.
- Align attribution windows and write down your 10–20% variance tolerance.
- Plan server-side upgrades (Enhanced Conversions, CAPI) and compliance checks for this quarter.
If you follow these steps, you’ll have an audit-ready, US-compliant ROAS-by-channel report your team can trust—and improve over time.