Mastering HTML Links: A Step-by-Step Approach to Adding Hyperlinks

What You’ll Learn & Achieve
Do you want to make text, images, or even emails clickable in your web pages? Whether you’re building a personal project or learning web basics, this step-by-step guide will walk you through adding various hyperlinks in HTML—guaranteed, error-free, and beginner-friendly.
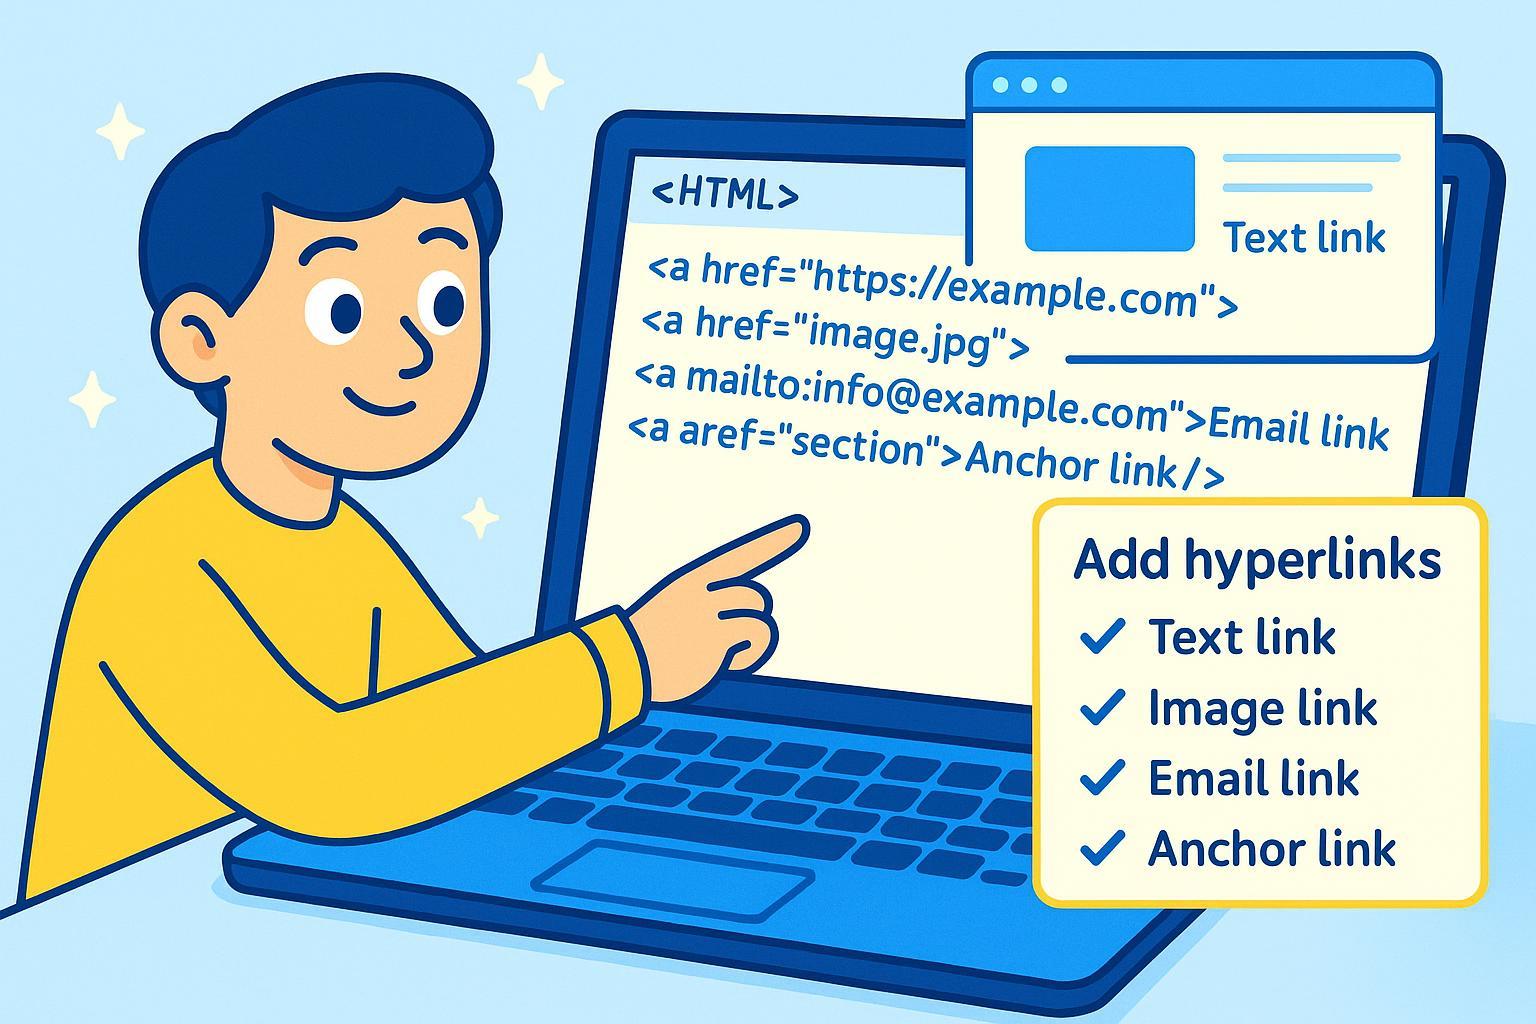
By the end, you'll be able to create:
- Working text links
- Clickable images
- Anchor links that jump within the page
- Email links that open mail clients
You'll also know how to check your work at each step, fix common mistakes, and validate your HTML like a pro.
Final Result Preview:
- Blue, underlined text links
- Clickable images launching new pages
- Internal page jumps working flawlessly
- Email links opening your default mail app
Ready to become an HTML link master? Let’s get started!
Quick Step Checklist
- Prepare your tools and basic HTML file
- Add a text hyperlink
- Make an image a hyperlink
- Create anchor links within your page
- Add an email (mailto) link
- Open links in a new tab (optional)
- Troubleshoot and validate your hyperlinks
Step 1: Prepare Your Tools and Basic HTML File
Command:
- Download and open a text editor (Notepad, VS Code, Atom, etc.).
- Create a new file and save it as
test-links.html. - Copy and paste this starter code:
<!DOCTYPE html>
<html>
  <head>
    <title>HTML Links Demo</title>
  </head>
  <body>
    <!-- We will add links here -->
  </body>
</html>
Explanation:
You’ll write your link code in the <body> section. Saving as .html lets browsers view your file.
Checkpoint:
- Open
test-links.htmlin your browser (double-click the file). - You should see a blank page with no errors.
Common Mistakes:
- Forgetting to save your file with
.htmlextension. - Trying to edit the file in Word instead of a code/text editor.
Step 2: Add a Text Hyperlink
Command:
- In your file’s
<body>, add this line:
<a href="https://www.example.com">Visit Example.com</a>
Explanation:
<a> is the anchor tag for hyperlinks. href specifies the destination URL. The words between > and </a> are the clickable link text.
Checkpoint:
- Save the file and refresh your browser.
- Result: You should see “Visit Example.com” as a blue, underlined link.
- Test: Click it. It should take you to example.com.
Common Mistakes:
- Missing
hrefor using single quotes and mismatched double quotes (href='...") - Typos in tag (
<a>not<a >) - Not saving before refreshing
Troubleshooting: If you only see plain text or nothing happens when clicking:
- Recheck your
<a>tag, ensure proper quotes and closing</a>. - Compare to MDN example.
Step 3: Make an Image a Clickable Hyperlink
Command:
- Add a local or online image to your folder, e.g.,
logo.pngor use an online image URL. - Insert the following snippet into
<body>:
<a href="https://www.example.com">
  <img src="https://www.w3schools.com/images/w3schools_green.jpg" alt="W3Schools Logo">
</a>
Explanation:
Wrapping <img> inside <a> makes the image clickable. alt gives alternative text for accessibility.
Checkpoint:
- You should see the image. Clicking it should open Example.com.
- If the image doesn’t show: check the
srcURL or file name accuracy.
Common Mistakes:
- Incorrect image path or URL (typos, missing folders, or wrong extension)
- Missing
altattribute—screen readers need it for accessibility - Not wrapping the entire
<img>with<a>
Troubleshooting:
- W3Schools visual reference
- Double-check folder locations if using local images.
Step 4: Create Anchor (Jump) Links Within the Page
Command:
- Pick a section of your page to jump to and add an
id. Example:
<h2 id="contact">Contact Information</h2>
<p>Email us at info@example.com</p>
- Next, add this link at the top or anywhere else:
<a href="#contact">Go to Contact Section</a>
Explanation:
The href="#contact" links to the element with the matching id. This scrolls the page instantly to that spot—useful for long pages or tables of contents.
Checkpoint:
- Click “Go to Contact Section” and watch the page scroll to your contact info.
Common Mistakes:
- Mismatching
idandhref(#Contactvs.#contact; HTML is case-sensitive!) - Missing
#before the id inhref
Troubleshooting:
Step 5: Add an Email (Mailto) Hyperlink
Command:
- Insert this email link anywhere in
<body>:
<a href="mailto:test@example.com">Send Me an Email</a>
Explanation:
Clicking this link prompts your default email program (Gmail, Outlook, etc.) to open a new message to test@example.com.
Checkpoint:
- Click the link—it should open your email app with the address filled in.
- If nothing happens: You may not have a default email app set up.
Common Mistakes:
- Typing
mail:to:instead ofmailto: - Forgetting to test with a real email client installed
Troubleshooting:
- Double-check
mailto:spelling. If you’re using a work/school device, email links may be restricted. - GeeksforGeeks: HTML Mailto Links
Step 6: Open Links in a New Tab (Optional, but Recommended for External Links)
Command:
- Modify your anchor tag to include
target="_blank"andrel="noopener":
<a href="https://www.example.com" target="_blank" rel="noopener">Visit Example.com in New Tab</a>
Explanation:
target="_blank"tells the browser to open the link in a new tab.rel="noopener"helps prevent certain security/privacy risks when opening new tabs. This is a best practice for external sites (detailed rationale).
Checkpoint:
- Click the link; it should open Example.com in a new browser tab. Your original page should remain open.
Common Mistakes:
- Omitting
rel="noopener"—especially for sites you don’t control - Accidentally typing
_bankinstead of_blank
Troubleshooting:
Step 7: Troubleshoot and Validate Your Hyperlinks
Command:
- Review each link: Hover over, check mouse pointer and preview URL at browser’s bottom.
- Click every link: Confirm each one works as intended (navigation, jump, email, image).
- Check for broken links: Use an online HTML validator to detect code errors.
- Accessibility Check: Ensure every image link has alt text; links are easy to see and use by keyboard.
Explanation: Validating helps catch subtle issues, such as typos or missing attributes. Accessibility ensures everyone can use your site.
Checkpoint Checklist:
- [ ] Text link shows and works
- [ ] Image link is visible and clickable
- [ ] Anchor link jumps within page
- [ ] Email link opens your app
- [ ] All links pass W3C Validator
Common Mistakes:
- Overlooking missing/extra brackets or quotes
- Mixing up internal vs. external URLs
- Skipping validation and missing hidden issues
Troubleshooting Tips:
- If a link doesn’t work, isolate that line; compare with a working sample.
- Use browser “Inspect Element” to quickly spot syntax errors.
- For email/anchor issues, double-check the
mailto:or#idmatch.
Wrap-Up: You Did It!
Congratulations! You’ve completed every major HTML hyperlink type, checked your work, prevented common errors, and even learned to validate your results like web professionals.
Next Steps
- Experiment with different attributes: try
title,rel="nofollow", or styling links with CSS. - Explore MDN’s comprehensive reference for deeper examples.
Handy Resources
- W3Schools: HTML Links
- MDN Web Docs: Creating Links
- FreeCodeCamp: HTML Links Explained
- W3C HTML Validator
Frequently Asked Questions (FAQ) & Troubleshooting
Q: My link doesn’t show up at all!
- A: Double-check your tag spelling:
<a href="...">Text</a>. HTML tags must match exactly.
Q: The link is there but not blue or underlined?
- A: Browsers show visited links differently, or custom CSS may change appearance. Try a different browser or clear your cache.
Q: My anchor link doesn’t jump?
- A: Make sure there is a specific
id(match the case!) on your destination, and that the<a>uses exactlyhref="#yourid".
Q: Email link won’t open my mail app?
- A: You need a default mail application configured. This is device-specific and may not work with web-only setups.
Q: How do I make links more accessible?
- A: Always use descriptive text, clear
alt, and ensure links are keyboard-navigable. Read more on accessibility.
Progress Tracking Tip: For longer tutorials, use a printable or on-screen checklist, marking each step as you complete it to stay organized and build confidence.
Great job mastering HTML hyperlinks, step by step!