Mastering Writing Paragraphs with Graphic Organizers: A Step-by-Step Guide

Have you ever struggled to organize your thoughts while writing? Graphic organizers can be a game-changer for you. They act like visual roadmaps, helping you structure your ideas and create paragraphs that flow logically. Studies show they simplify complex ideas, making it easier to connect your thoughts. Plus, they save time—49% of people complete tasks faster after learning clear writing techniques. With graphic organizers, you’ll not only improve clarity but also master the art of writing focused and coherent paragraphs. Ready to start mastering writing paragraphs with ease?
Key Takeaways
Graphic organizers help by showing ideas visually, making writing easier.
They improve clarity and focus, helping you share your message better.
Different graphic organizers have uses, like T-charts for comparing ideas.
Flowcharts are great for showing steps in a process clearly.
Brainstorming with them helps you gather and link ideas before writing.
Practicing with graphic organizers can make writing easier and less scary.
Revising drafts is important; it improves ideas and keeps writing logical.
Picking the right graphic organizer helps you stay clear and organized.
Graphic organizers work for everyone, not just students, in all types of writing.
What Are Graphic Organizers?
Definition of Graphic Organizers
Graphic organizers are visual tools that help you arrange and connect ideas. Think of them as maps for your thoughts, guiding you to structure information in a way that makes sense. These tools come in various forms, like charts, diagrams, and templates, each designed to simplify complex concepts. For example, a mind map can help you brainstorm ideas, while a flowchart can show the sequence of events or steps in a process.
Experts describe graphic organizers as tools that break down information into smaller, more manageable parts. They make abstract ideas tangible and easier to understand. Studies show that these tools activate your prior knowledge, helping you connect new information to what you already know. This process not only improves comprehension but also boosts your ability to analyze and evaluate information.
In educational settings, graphic organizers have proven to be highly effective. Research involving over 16,000 students found that using these tools significantly improves long-term retention. Students who used interactive graphic organizers scored 42% higher on comprehension tests compared to those who didn’t use any. These findings highlight the power of graphic organizers in making learning more engaging and effective.
Purpose of Graphic Organizers in Writing
When it comes to writing, graphic organizers are your best friend. They simplify the process of tackling complex topics by giving you a clear framework to organize your thoughts. Instead of feeling overwhelmed, you can break down your ideas into smaller sections, making it easier to focus on one part at a time.
These tools are especially helpful during brainstorming. They allow you to jot down all your ideas and see how they connect. This visual representation helps you identify gaps in your thinking and ensures your writing stays on track. For instance, a T-chart can help you compare and contrast ideas, while a Venn diagram can show overlapping themes.
Graphic organizers also encourage critical thinking. By dissecting a topic into its core components, you can analyze it more deeply and develop stronger arguments. They promote logical thinking, ensuring your paragraphs flow smoothly from one idea to the next. In fact, integrating graphic organizers into your writing routine can enhance your ability to craft coherent essays and improve your overall writing skills.
Whether you’re writing a simple paragraph or a detailed essay, graphic organizers make the process less daunting. They provide a roadmap for your ideas, helping you stay focused and organized. With practice, you’ll find that mastering writing paragraphs becomes much easier with these tools by your side.
Benefits of Using Graphic Organizers for Mastering Writing Paragraphs
Enhancing Clarity and Focus
Have you ever started writing and felt like your ideas were all over the place? Graphic organizers can help you fix that. They act as visual roadmaps, guiding you to break down complex ideas into smaller, manageable parts. This makes it easier to focus on what you want to say. Research shows that using graphic organizers simplifies the writing process. They help you organize details and ensure your thoughts flow logically. This structured approach reduces confusion and makes your message clearer and more impactful.
When you use a graphic organizer, you can see your ideas laid out in front of you. This helps you spot gaps or areas that need more detail. It also keeps you from going off-topic, so your writing stays focused. Whether you're writing a single paragraph or a longer essay, these tools make it easier to stay on track and communicate your ideas effectively.
Improving Organization of Ideas
Good writing isn’t just about having great ideas—it’s about organizing them in a way that makes sense to your reader. Graphic organizers make this process much simpler. They give you a clear structure to follow, so your ideas don’t feel scattered.
Here’s some eye-opening data about how better organization can improve communication:
Statistic | Description |
|---|---|
More than a third of the workforce loses this amount each year due to unclear written communication. | |
46% | Percentage of participants who received fewer clarifying questions after adopting clearer writing methods. |
49% | Percentage of participants who reported completing tasks more quickly after training in clear writing. |
These numbers show how much time and effort can be saved when your writing is well-organized. By using graphic organizers, you can structure your paragraphs in a way that’s easy to follow. This not only helps you but also makes your writing more enjoyable for your readers.
Encouraging Logical Thinking and Flow
Have you ever read something that felt choppy or disconnected? That’s what happens when writing lacks logical flow. Graphic organizers help you avoid this problem by encouraging you to think critically about how your ideas connect.
For example, when you use a flowchart, you can map out the sequence of your thoughts. This ensures that each idea leads naturally to the next. Tools like Venn diagrams or T-charts can also help you compare and contrast ideas, making your arguments stronger.
When your writing flows logically, it’s easier for your readers to follow along. They won’t have to stop and reread to understand your point. Instead, they’ll stay engaged and focused on your message. With practice, you’ll find that mastering writing paragraphs becomes second nature when you use graphic organizers to guide your thinking.
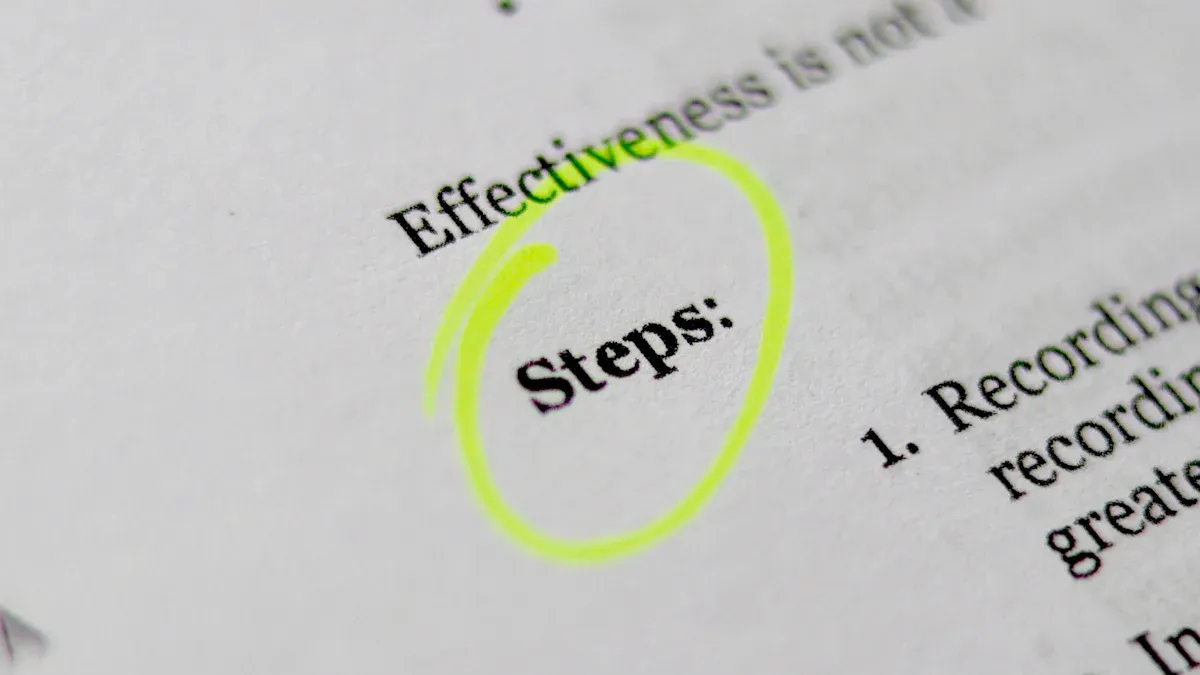
Step-by-Step Guide to Mastering Writing Paragraphs with Graphic Organizers
Brainstorming Ideas
Before you start writing, you need to gather your thoughts. Brainstorming is the first step, and graphic organizers make it much easier. They help you capture your ideas and see how they connect. One effective tool for this is the Circle Map. It’s perfect for jotting down initial ideas, especially in group settings. You can start with a central topic and branch out with related thoughts.
Here’s a quick look at how brainstorming strategies work:
Strategy | Description |
|---|---|
Circle Maps | Useful for brainstorming initial ideas in a group setting, allowing ideas to develop into complex plans. |
To make your brainstorming even more effective, try using color-coded frameworks. Assign different colors to categories or themes. This not only makes your organizer visually appealing but also helps you remember your ideas better. You can also customize your graphic organizer to fit your needs. For example, if you’re working on a compare-and-contrast paragraph, a Venn diagram might be your best choice.
Choosing the right graphic organizer is key. Experiment with different types to find the one that works best for you. Once you’ve got your ideas down, you’ll feel more confident moving to the next step.
Organizing Ideas Visually
Now that you’ve brainstormed your ideas, it’s time to organize them. This step is all about turning your scattered thoughts into a clear plan. Graphic organizers shine here because they let you see your ideas laid out visually. This makes it easier to spot connections and gaps.
For instance, if you’re writing a narrative paragraph, a flowchart can help you map out the sequence of events. If you’re comparing two topics, a T-chart can help you list the similarities and differences side by side. Research shows that organizing ideas visually improves paragraph structure. It ensures your writing flows logically and keeps your readers engaged.
When you organize your ideas visually, you’re not just making your writing process easier. You’re also setting yourself up for success. A well-organized paragraph is easier to write and more enjoyable to read.
Structuring the Paragraph
With your ideas organized, you’re ready to structure your paragraph. This step involves deciding what goes where. Start with a strong topic sentence that introduces the main idea. Then, add supporting details to explain or expand on your point. Finally, wrap it up with a concluding sentence that ties everything together.
Graphic organizers can guide you through this process. For example, the Hamburger Template is a popular choice. It breaks the paragraph into three parts: the top bun (topic sentence), the fillings (supporting details), and the bottom bun (conclusion). This simple structure ensures your paragraph is complete and easy to follow.
Research highlights the importance of structuring paragraphs effectively. It improves writing quality by ensuring a logical flow and simplifying complex ideas. When you use a graphic organizer, you’re not just writing a paragraph—you’re mastering the art of clear communication.
By following these steps, you’ll find that mastering writing paragraphs becomes a lot less intimidating. Graphic organizers give you the tools you need to succeed, one step at a time.
Drafting the Paragraph
Now that you’ve structured your ideas, it’s time to bring them to life by drafting your paragraph. This is where your thoughts take shape and transform into sentences. Don’t worry about perfection at this stage. Focus on getting your ideas down on paper. Think of it as building a house—you’re laying the foundation, not decorating the rooms just yet.
Start with your topic sentence. This is the anchor of your paragraph, so make it clear and engaging. It should tell the reader what the paragraph is about. For example, if you’re writing about the benefits of graphic organizers, your topic sentence might be, “Graphic organizers are powerful tools that simplify the writing process.”
Next, move on to your supporting details. These are the “meat” of your paragraph. Use the ideas you organized earlier to explain, describe, or provide evidence for your topic sentence. Be specific and avoid vague statements. If you’re using a Hamburger Template, this is where you add the fillings—facts, examples, or explanations that strengthen your main point.
Finally, wrap it up with a concluding sentence. This ties everything together and reinforces your main idea. A good conclusion leaves the reader with a sense of closure. For instance, you could say, “By using graphic organizers, you can turn scattered ideas into a well-structured paragraph.”
Here’s a tip: Don’t overthink your first draft. It doesn’t have to be perfect. You’ll have plenty of time to polish it later. Just focus on writing freely and letting your ideas flow.
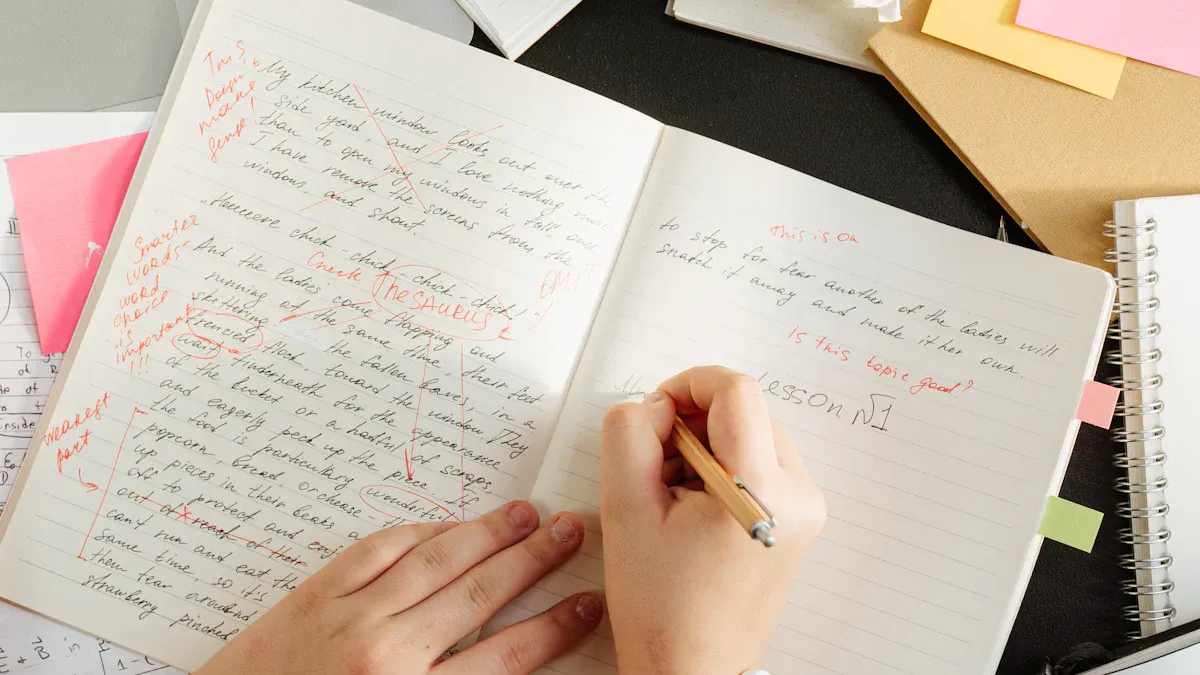
Revising and Refining the Paragraph
Once you’ve drafted your paragraph, it’s time to refine it. Revision is where the magic happens. This step transforms your rough draft into a polished piece of writing. Think of it as sculpting—you’re chiseling away the rough edges to reveal the masterpiece underneath.
Start by reading your paragraph out loud. This helps you catch awkward phrasing or sentences that don’t flow well. Ask yourself, “Does this make sense? Does it stay on topic?” If something feels off, don’t hesitate to tweak it.
Next, check for clarity. Are your ideas easy to understand? If not, simplify your sentences or add more details. Make sure your topic sentence is strong and your supporting details are relevant. Remove anything that doesn’t add value to your paragraph.
Pay attention to transitions. Smooth connections between sentences make your writing easier to follow. Words like “for example,” “in addition,” or “as a result” can help guide your reader through your ideas.
Finally, proofread for grammar, spelling, and punctuation errors. Even small mistakes can distract your reader. Tools like spell checkers can help, but don’t rely on them entirely. A careful read-through is always a good idea.
Remember, revising isn’t just about fixing mistakes. It’s about making your writing the best it can be. With practice, you’ll find that this step becomes second nature. Mastering writing paragraphs is all about refining your process, one step at a time.
Popular Graphic Organizers for Paragraph Writing
Hamburger Template
The Hamburger Template is one of the most popular graphic organizers for writing paragraphs. It’s simple, visual, and easy to use. Imagine a hamburger. The top bun represents your topic sentence, the fillings are your supporting details, and the bottom bun is your concluding sentence. This structure helps you build a complete and well-organized paragraph.
Why is it so effective? It keeps your writing focused. You start with a clear main idea, add layers of evidence or examples, and finish with a strong conclusion. This method ensures your paragraph has everything it needs to make sense.
Tip: Use this template when you’re learning to write paragraphs or when you need to explain something step by step. It’s perfect for beginners and works well for almost any topic.
Here’s an example:
Top Bun (Topic Sentence): "Graphic organizers simplify the writing process."
Fillings (Supporting Details): "They help you brainstorm ideas, organize thoughts, and structure paragraphs logically."
Bottom Bun (Concluding Sentence): "By using graphic organizers, you can write more clearly and effectively."
Try it out! You’ll see how easy it is to turn your ideas into a solid paragraph.
T-Charts
T-Charts are perfect for comparing and contrasting ideas. They’re called T-Charts because they look like the letter “T.” You divide the page into two columns. One side lists one idea, and the other side lists the opposing idea or comparison.
This organizer is great for exploring pros and cons, similarities and differences, or even cause and effect. For example, if you’re writing about the benefits and challenges of using graphic organizers, you could use a T-Chart to organize your thoughts.
Here’s how it might look:
Benefits | Challenges |
|---|---|
Simplifies complex ideas | Takes time to create |
Improves organization | Requires practice to use well |
Encourages logical thinking | May not fit every writing task |
Note: Use T-Charts when you need to weigh options or analyze two sides of a topic. They’re especially helpful for persuasive or analytical writing.
T-Charts make it easy to see both sides of an argument. This clarity helps you write stronger, more balanced paragraphs.
Mind Maps
Mind Maps are a creative and flexible way to brainstorm and organize ideas. They start with a central idea in the middle of the page. From there, you draw branches to related ideas, creating a web of connections. This visual approach helps you see the big picture and how your ideas fit together.
Mind Maps are great for brainstorming because they let you explore ideas freely. You can add images, colors, or symbols to make your map more engaging. For example, if you’re planning a paragraph about the benefits of graphic organizers, your central idea might be “Graphic Organizers.” From there, you could branch out to “Clarity,” “Organization,” and “Logical Thinking.”
Pro Tip: Use Mind Maps when you’re stuck or need to generate ideas quickly. They’re perfect for creative projects or when you want to think outside the box.
Mind Maps encourage you to think visually and creatively. They’re not just tools for writing—they’re tools for thinking. Give them a try, and you’ll see how they can spark new ideas and make your writing process more enjoyable.
Venn Diagrams
Venn diagrams are a fantastic tool when you need to compare and contrast ideas. They consist of overlapping circles, with each circle representing a different idea or concept. The overlapping area shows what the ideas have in common, while the non-overlapping parts highlight their differences. This simple visual layout makes it easy to organize your thoughts and spot connections.
Imagine you’re writing a paragraph about the similarities and differences between cats and dogs. A Venn diagram can help you brainstorm. One circle could represent cats, the other dogs, and the overlapping section could list traits they share, like being popular pets or requiring regular care. This setup helps you see the bigger picture and decide what to include in your paragraph.
Here’s why Venn diagrams are so effective:
Clarity: They make it easy to separate similarities from differences.
Focus: They help you stay on topic by visually organizing your ideas.
Flexibility: You can use them for any topic that involves comparison.
Tip: Use Venn diagrams when writing compare-and-contrast paragraphs or essays. They’re especially helpful for topics with multiple layers of similarities and differences.
Once you’ve filled out your diagram, you’ll have a clear roadmap for your paragraph. Start with the similarities, move on to the differences, and wrap it up with a conclusion. This structure ensures your writing flows logically and keeps your reader engaged.
Flowcharts
Flowcharts are perfect for organizing ideas that follow a sequence or process. They use shapes like rectangles, diamonds, and arrows to show the steps in a clear, visual way. If your paragraph involves explaining how something works or describing a series of events, a flowchart can be your best friend.
Let’s say you’re writing about the process of baking a cake. A flowchart can help you map out the steps:
Gather ingredients.
Mix the batter.
Preheat the oven.
Bake the cake.
Let it cool.
Each step gets its own box, connected by arrows to show the order. This layout makes it easy to see the flow of your ideas and ensures you don’t miss any important details.
Pro Tip: Use flowcharts for “how-to” paragraphs or when explaining processes. They’re great for keeping your writing clear and organized.
Flowcharts also encourage logical thinking. By laying out each step visually, you can spot gaps or unnecessary details before you start writing. This saves time and makes your paragraph more effective. Plus, readers love clear, step-by-step explanations—they’re easy to follow and understand.
So, the next time you’re tackling a process-based topic, grab a flowchart. It’s like having a blueprint for your paragraph, guiding you every step of the way.
How to Choose the Best Graphic Organizer
Choosing the right graphic organizer can feel overwhelming with so many options out there. But don’t worry—you can make the process simple by focusing on your writing goals, learning style, and the specific scenario you’re working with. Let’s break it down step by step.
Matching Organizers to Writing Goals
Your writing goal is the first thing to consider. What are you trying to achieve? Different graphic organizers work better for different tasks.
Explaining a process? A flowchart is your best friend. It lays out steps in a clear, logical order.
Comparing two ideas? Go for a Venn diagram or a T-chart. These tools make it easy to see similarities and differences.
Building a strong paragraph? The Hamburger Template is perfect for organizing your topic sentence, supporting details, and conclusion.
Tip: Always ask yourself, “What do I want my reader to understand?” The answer will guide you to the right organizer.
Matching the organizer to your goal ensures your writing stays focused and effective. It’s like choosing the right tool for the job—using a hammer when you need to drive a nail, not a screwdriver.
Considering Learning Styles
Your learning style plays a big role in how well a graphic organizer works for you. Are you a visual learner? Do you prefer hands-on activities? Here’s how to match organizers to your strengths:
Visual learners: Mind maps and flowcharts are great. They let you see connections and patterns at a glance.
Logical thinkers: T-charts and Venn diagrams work well. They help you organize information in a structured way.
Hands-on learners: Try using physical tools like sticky notes or drawing your organizer on paper. Moving things around can help you process ideas better.
Note: Don’t be afraid to experiment. You might find that a combination of styles works best for you. For example, you could start with a mind map to brainstorm and then switch to a flowchart to organize your ideas.
Understanding your learning style makes writing less stressful and more enjoyable. It’s all about finding what clicks for you.
Adapting to Different Writing Scenarios
Not all writing tasks are the same, so your graphic organizer should adapt to the situation. Here are a few examples:
Persuasive writing: Use a T-chart to list pros and cons or arguments and counterarguments. This helps you build a strong case.
Creative writing: Mind maps are perfect for brainstorming characters, settings, or plot points. They let your imagination run wild.
Explanatory writing: Flowcharts or sequence diagrams help you break down processes step by step.
Pro Tip: Think about your audience. If you’re writing for someone who needs clear instructions, a flowchart might be better than a mind map. Tailoring your organizer to the task and audience makes your writing more effective.
By adapting your approach, you’ll find that graphic organizers can handle any writing challenge. They’re versatile tools that grow with you as a writer.
Practical Tips for Educators and Students
Tips for Educators
If you’re an educator, graphic organizers can be a powerful tool in your teaching toolkit. They don’t just help students write better paragraphs—they also make learning more interactive and engaging. Here are some practical tips to get the most out of them in your classroom:
Choose the right organizer for the task: Different organizers work best for different activities. For example, use mind maps for brainstorming, flowcharts for step-by-step processes, and Venn diagrams for comparing ideas.
Make learning interactive: Encourage group work. When students collaborate on a graphic organizer, they share ideas and learn from each other. This teamwork builds critical thinking and communication skills.
Adapt for different skill levels: Add supports like pictures, sentence starters, or word banks for younger students or those who need extra help. For advanced learners, challenge them to create their own organizers from scratch.
Encourage regular practice: The more students use graphic organizers, the more confident they’ll become in their writing. Make them a regular part of your lessons to reinforce clarity and organization.
Here’s a quick reference table to help you match graphic organizers to specific tasks:
Graphic Organizer | Best Suited For | Example Use Case |
|---|---|---|
Mind Maps | Brainstorming | Listing ideas about climate change |
Flowcharts | Step-by-step processes | Explaining how to bake a cake |
Venn Diagrams | Comparing ideas | Comparing renewable vs. non-renewable energy |
Concept Maps | Showing relationships | Exploring ecosystems and their interactions |
Tip: Start small. Introduce one type of graphic organizer at a time. Once your students feel comfortable, you can expand their options.
Tips for Students
Using graphic organizers can make writing paragraphs feel less overwhelming. They help you organize your thoughts and write with more clarity. Here’s how you can use them effectively:
Start with brainstorming: Use a mind map to jot down all your ideas. Don’t worry about organizing them yet—just get them on paper. This step helps you see the big picture.
Organize your ideas visually: Pick an organizer that fits your task. For example, if you’re explaining a process, a flowchart can help you map out each step. If you’re comparing two topics, try a Venn diagram.
Review and revise: After drafting your paragraph, go back and check for logical flow. Does each sentence connect to the next? Are your ideas clear? Revising helps you refine your work and make it stronger.
Seek feedback: Share your paragraph with a teacher, friend, or classmate. They can point out areas for improvement and give you new ideas.
Using graphic organizers regularly can improve your writing skills over time. They help you focus on what’s important and avoid unnecessary details. Plus, they make the writing process more fun and less stressful.
Pro Tip: Don’t skip the revision step. It’s your chance to polish your work and make it shine. Even professional writers revise their drafts!
By following these tips, you’ll find that writing paragraphs becomes easier and more enjoyable. Graphic organizers aren’t just tools—they’re your secret weapon for success.
Avoiding Common Mistakes
Even with the best tools, mistakes can happen. Graphic organizers are no exception. Let’s look at some common pitfalls and how you can avoid them.
Overcomplicating the Organizer
It’s easy to get carried away when creating a graphic organizer. You might feel tempted to add too many details, colors, or sections. But this can backfire. Overcomplicating your organizer can confuse you and distract from your main ideas. Instead of helping, it might leave you feeling overwhelmed.
Keep it simple. Focus on the essentials. For example, if you’re using a Hamburger Template, stick to the basics: topic sentence, supporting details, and conclusion. Avoid cramming in extra layers or unrelated points. A clean and straightforward organizer will guide your writing without adding unnecessary stress.
Tip: Ask yourself, “Does this organizer make my ideas clearer?” If the answer is no, simplify it. Less is often more.
Neglecting the Revision Process
Skipping the revision step is a mistake many writers make. You might think your first draft is good enough, but it rarely is. Neglecting to revise can leave your writing unclear or off-topic. It’s like building a house and forgetting to check if the walls are straight.
Take time to review your paragraph. Read it out loud. Does it flow smoothly? Are your ideas clear? If something feels off, fix it. Revision helps you align your writing with your main idea and polish it to perfection.
Here’s a quick checklist for revising:
Check for clarity.
Ensure logical flow between sentences.
Fix grammar and spelling errors.
Note: Revision isn’t just about finding mistakes. It’s your chance to make your writing shine.
Choosing the Wrong Organizer for the Task
Not all graphic organizers work for every writing task. Using the wrong one can make your job harder. For instance, a Venn diagram might not help much if you’re writing a step-by-step process. Similarly, a flowchart won’t be ideal for comparing two ideas.
Choose an organizer that fits your goal. If you’re explaining a process, go with a flowchart. For comparing ideas, a T-chart or Venn diagram works best. Picking the right tool ensures your writing stays focused and effective.
Reminder: Think about what you want to achieve before choosing an organizer. The right match can make all the difference.
By avoiding these common mistakes, you’ll get the most out of graphic organizers. They’re powerful tools, but only when used wisely. Keep things simple, revise your work, and choose the right organizer for the job. You’ll see your writing improve in no time.
Graphic organizers are your secret weapon for mastering paragraph writing. They help you brainstorm, organize, and structure your ideas with ease. Tools like the Hamburger Template, T-Charts, and Mind Maps make writing less overwhelming and more enjoyable.
Tip: Start small. Pick one organizer and practice using it. Experiment with different types to see what works best for you.
With regular use, you’ll notice your writing becoming clearer and more focused. So grab a graphic organizer and start turning your ideas into well-crafted paragraphs today!
FAQ
What is the best graphic organizer for beginners?
The Hamburger Template is a great starting point. It’s simple and helps you focus on the basics: topic sentence, supporting details, and conclusion. This structure makes it easy to organize your thoughts and create a clear paragraph.
Can I use more than one graphic organizer for a single task?
Absolutely! Combining organizers can be helpful. For example, you can brainstorm with a Mind Map and then organize your ideas with a T-Chart. Mixing tools lets you approach your writing from different angles.
How do I know if I’m using the right graphic organizer?
Ask yourself what you want to achieve. If you’re comparing ideas, use a Venn Diagram. For step-by-step processes, try a Flowchart. Matching the organizer to your goal ensures your writing stays focused and effective.
Are graphic organizers only for students?
Not at all! Professionals, educators, and writers use them too. They’re great for planning presentations, organizing research, or even mapping out creative projects. Graphic organizers are versatile tools for anyone who wants to think and write clearly.
Do graphic organizers work for creative writing?
Yes! Mind Maps are perfect for brainstorming characters, settings, or plot points. They let you explore ideas freely and visually. You can also use Flowcharts to outline story sequences or timelines.
How can I make my graphic organizer more effective?
Keep it simple. Focus on the main ideas and avoid overloading it with details. Use colors or symbols to highlight key points. A clean and clear organizer will guide your writing without overwhelming you.
What if I don’t have time to create a graphic organizer?
Even a quick sketch can help. Draw a simple T-Chart or jot down a few bullet points. Spending just a few minutes organizing your thoughts can save you time when you start writing.
Can graphic organizers improve my grades?
They can! Graphic organizers help you organize your ideas, stay on topic, and write clearly. Teachers appreciate well-structured paragraphs, so using these tools can make your writing stand out.
Tip: Practice using graphic organizers regularly. The more you use them, the easier writing becomes!
See Also
A Comprehensive Guide to Excelling in Blog Writing
Effective Strategies for Completing Your Blog Assignment
Guidelines for Crafting an Impactful Research Blog Post