Step-by-Step Guide: Adding Your Personal Blog Link to Instagram Bio


Adding your personal blog link to your Instagram bio is one of the easiest ways to grow your audience. Instagram gives you a dedicated spot for a clickable link, which makes it simple for people to visit your blog with just one tap. This little change can have a big impact. For example, Well+Good saw a 179% rise in Instagram traffic after using a bio link tool.
Why does it work so well? Bio links let you guide readers to your most popular posts, sign-ups, or other resources. They’re a direct path to your content, boosting engagement and visibility. With Instagram’s reach, you can connect with more readers and expand your blog’s presence online.
Key Takeaways
Adding your blog link to Instagram can boost audience interest.
Use the 'Website' section in your profile to make links clickable.
Update your bio link often to show new blog posts or projects.
Try tools like Linktree to share many links easily.
A custom domain builds trust and looks professional, encouraging clicks.
Add a clear action in your bio to guide followers.
Use analytics tools to track how your link is performing.
Fix problems like broken links to keep things working smoothly.
Adding Your Personal Blog Link to Instagram Bio
Steps for Mobile Users
Open the Instagram app and navigate to your profile.
To get started, open the Instagram app on your phone. Once you're in, tap the profile icon in the bottom-right corner. This will take you to your profile page, where you can make changes.
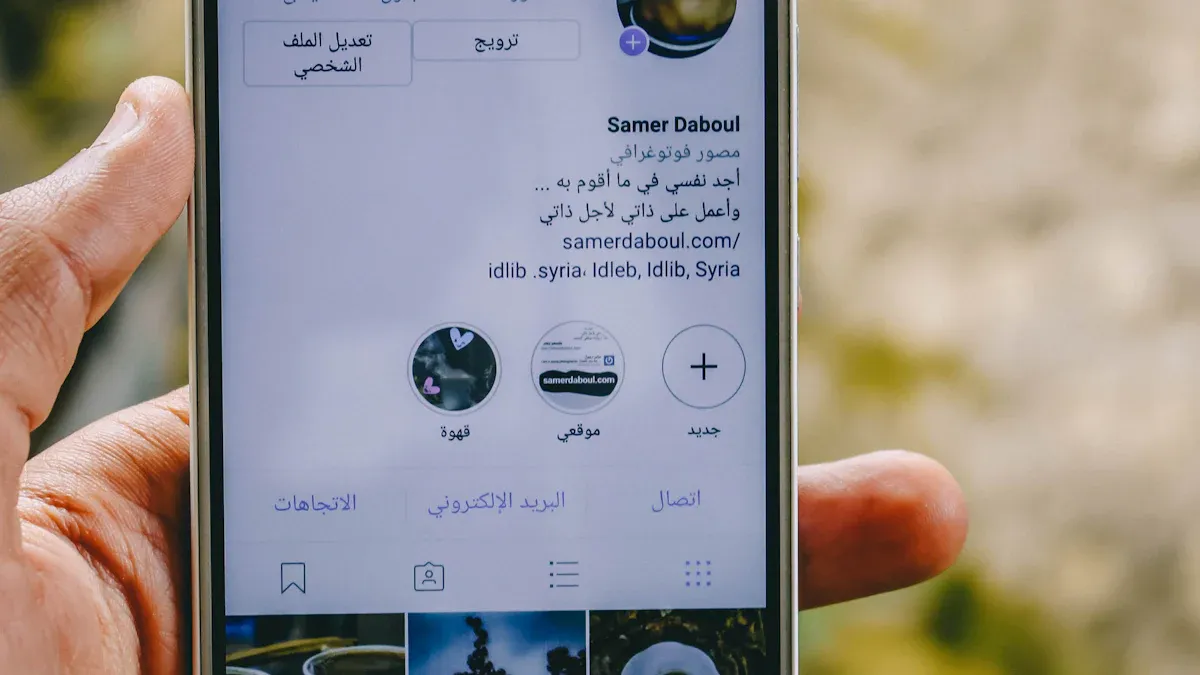
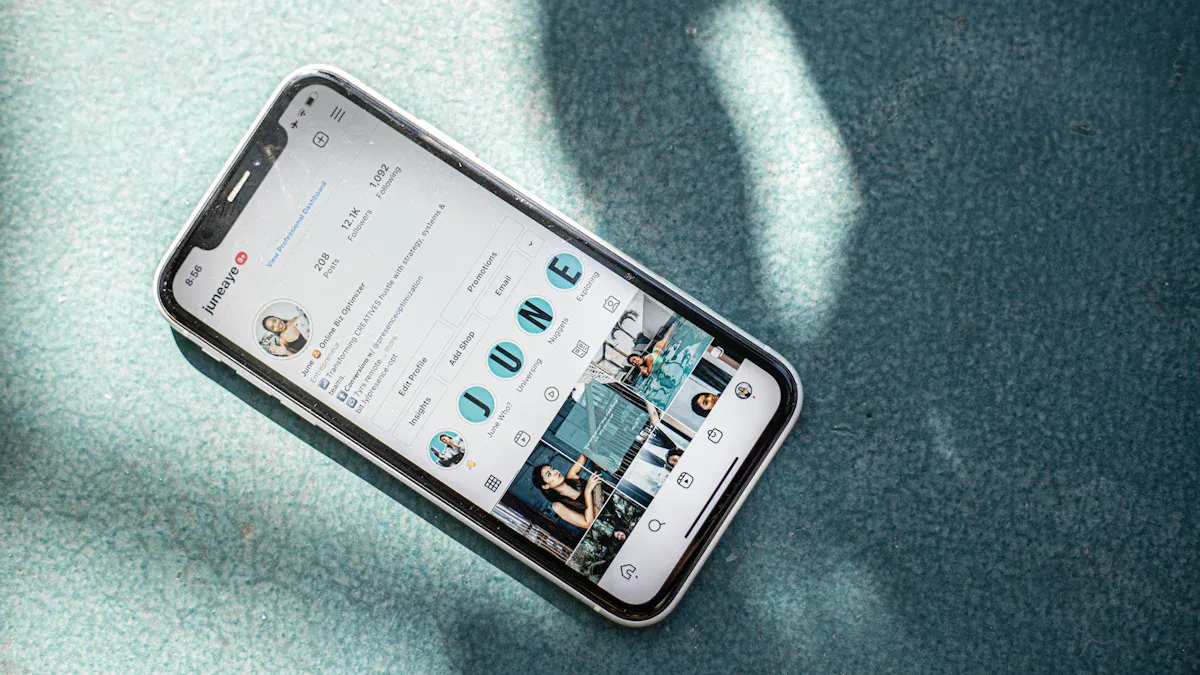
Tap "Edit Profile" and locate the "Website" field.
On your profile page, you'll see an "Edit Profile" button. Tap it, and you'll find several fields you can update. Look for the one labeled "Website." This is where you'll add your blog link.
Enter your blog link and save the changes.
Type or paste your blog's URL into the "Website" field. Make sure the link is accurate—typos can lead to broken links. Once you've added the link, tap the checkmark or "Save" button to confirm your changes.
Verify the link is clickable on your profile.
Head back to your profile and check the link under your bio. It should now appear as a clickable hyperlink. Tap it to ensure it directs users to your blog. If it works, you're all set!
Pro Tip: Regularly update your link to reflect your latest blog post or campaign. This keeps your audience engaged and encourages repeat visits.
Steps for Desktop Users
Log in to Instagram on your browser and go to your profile.
If you're using a computer, open your browser and log in to Instagram. Click on your profile picture in the top-right corner to access your profile page.
Click "Edit Profile" and find the "Website" field.
On your profile page, you'll see an "Edit Profile" button. Click it to open a form where you can update your profile details. Locate the "Website" field—it’s the same spot where mobile users add their links.
Paste your blog link and save the changes.
Copy your blog's URL and paste it into the "Website" field. Double-check the link for accuracy, then click the "Submit" or "Save" button to apply the changes.
Check your profile to ensure the link works.
Go back to your profile and click the link to test it. It should open your blog in a new tab. If it doesn’t work, revisit the steps to fix any errors.
Did You Know? Adding your personal blog link can significantly boost your online visibility. Metrics like reach, impressions, and website clicks often improve after incorporating a blog link. Here's a quick breakdown:
Metric | Description |
|---|---|
Reach | The number of unique accounts that saw your bio in a given period. |
Impressions | The number of times your bio was seen in a given period. |
Profile Visits | The number of times your profile was viewed in a given period. |
Website Clicks | The number of taps on the link in your bio in a given period. |
Email/Call/Text | The number of taps on the contact options in your bio in a given period. |
Followers | The number of accounts that started or stopped following you in a given period. |
By following these steps, you can make the most of Instagram's bio feature and drive traffic to your blog. Whether you're using a phone or a computer, the process is quick and easy.
Adding Multiple Links to Instagram Bio
Sometimes, one link isn’t enough for everything you want to share. If you need to include blog posts, social media, or other resources, link aggregator tools can help. These tools create one link that leads to a page with all your important links. Let’s see how to use them and what to keep in mind.
Using Link Aggregator Tools
Tools like Linktree, Beacons, and Tap.bio
Popular tools like Linktree, Beacons, and Tap.bio are great for Instagram. They make sharing multiple links easy and effective. These tools often include features like stats, design options, and even smart automation to help you get more clicks.
Here’s why they work so well:
They make it easier for users to find your content.
Analytics show how people interact with your links, helping you improve.
Automation can guide users to take actions, like signing up or visiting pages.
Steps to set up and add your links
Starting with a link aggregator tool is simple:
Pick a tool like Linktree, Beacons, or Tap.bio.
Create a free or paid account based on your needs.
Add your blog link and any other links you want to share.
Customize the page with colors, fonts, and images to match your style.
Save your changes and copy the unique link the tool gives you.
Adding the aggregator link to Instagram
Once your page is ready, adding it to Instagram is easy:
Open Instagram and go to your profile.
Tap "Edit Profile" and find the "Website" field.
Paste the aggregator link into the field and save it.
Check your profile to make sure the link works.
Pro Tip: Use the analytics feature to see which links get the most clicks. This helps you decide what to promote more.
Benefits and Drawbacks of Link Aggregators
Why using multiple links is helpful
Using a link aggregator tool has many benefits:
It puts all your links in one place, making them easy to find.
Some tools let you add social media feeds, which can attract followers.
You can promote different parts of your blog, like posts or campaigns.
They allow user-generated content (UGC), which builds trust and popularity.
Issues like slow loading or limited features
While helpful, these tools have some downsides:
Problem | What It Means |
|---|---|
Free Plans Are Limited | Advanced features often require payment. |
No Custom Domains on Free Plans | Custom domains are usually for premium users. |
Focus on Storefronts | Some tools are better for shops than regular links. |
Limited Design Options | Free versions may not match your branding perfectly. |
Basic Analytics for Free Users | Detailed stats are often only in paid plans. |
Note: Slow loading can annoy users, so pick a reliable tool. Also, check if the free version meets your needs or if upgrading is worth it.
Adding multiple links to your Instagram bio can help you connect better with your audience. Whether you’re sharing your blog, social media, or other resources, link aggregator tools make it simple and effective.
Optimizing Your Blog Link for Engagement
Adding your blog link to your Instagram bio is just the first step. To truly make an impact, you need to optimize it for engagement. This means making your link more appealing, trustworthy, and actionable. Let’s dive into some strategies to help you get the most out of your bio link.
Use a Branded Domain
Why a custom domain builds trust and professionalism
A branded domain can make your link stand out. Instead of a generic URL, a branded link includes your blog or brand name, which instantly builds trust. People feel more confident clicking on a link that looks professional and familiar.
Branded links can increase click-through rates by up to 39%.
They create a seamless connection between your Instagram profile and your blog.
Users are 40% more likely to engage with content when the link feels like a natural extension of your brand.
Think about it—would you rather click on "bit.ly/xyz123" or "yourblog.com"? The second option feels more reliable and polished.
Steps to create and use a branded domain for your blog
Creating a branded domain isn’t as complicated as it sounds. Here’s how you can do it:
Choose a domain name: Pick a name that reflects your blog or brand. Keep it short and memorable.
Register your domain: Use platforms like GoDaddy, Namecheap, or Google Domains to secure your domain.
Set up hosting: Connect your domain to a hosting service to make your blog accessible online.
Update your Instagram bio: Replace your old link with your new branded domain in the "Website" field.
Pro Tip: Consistency is key. Use the same branded domain across all your social media platforms to reinforce your personal branding.
Add a Call-to-Action
Examples of effective CTAs to encourage clicks
A call-to-action (CTA) can make your link more enticing. It tells your audience what to do next and gives them a reason to click. Here are some examples:
"Read my latest blog post!"
"Discover 5 tips to boost your productivity."
"Join the conversation—click here to comment!"
"Explore my travel adventures now!"
These CTAs create curiosity and guide your audience toward your content.
Aligning your CTA with your blog’s content or goals
Your CTA should match the purpose of your blog. If you’re promoting a new post, mention it in your CTA. If your goal is to grow your email list, use something like, "Sign up for exclusive updates!" Aligning your CTA with your content makes it more relevant and effective.
Quick Tip: Place your CTA in your Instagram bio text, right above your link. For example:
"✨ New post alert! Click below to read my guide on healthy living. 👇"
Keep Your Link Updated
Regularly check for broken or outdated links
An outdated or broken link can frustrate your audience and hurt your credibility. Make it a habit to check your link regularly. Test it on different devices and browsers to ensure it works smoothly.
Update the link to reflect your latest blog post or campaign
Keep your audience engaged by updating your link to showcase fresh content. For example, if you’ve published a new blog post, replace your old link with the new one.
Here are some best practices to maintain updated links:
Limit the number of links to 5-7, prioritizing the most important ones.
Use analytics tools to track performance and identify which links get the most clicks.
Maintain consistent branding to align with your blog’s niche.
Tracking Tip: Use tools like Instagram Insights or Google Analytics to monitor how your link performs. Here’s a quick overview of tracking methods:
Tracking Method | Description |
|---|---|
Instagram Insights | Monitor traffic and track followers clicking through to your website. |
Website Taps | Shows the number of clicks on your bio link when using a business account. |
Link Clicks from Stories | Provides metrics on the number of clicks generated from links in Instagram Stories. |
Google Analytics 4 with UTM | Measures campaign source of Instagram traffic by adding UTM tags to destination URLs. |
By keeping your link fresh and relevant, you’ll encourage repeat visits and maintain your audience’s interest.
Final Thought: Optimizing your blog link isn’t just about adding it to your bio. It’s about making it engaging, trustworthy, and actionable. With these tips, you’ll turn your Instagram bio into a powerful tool for driving traffic to your blog.
Troubleshooting Issues with Blog Links
Even with the best intentions, you might run into problems when adding your blog link to your Instagram bio. Don’t worry—most issues are easy to fix. Let’s go through some common problems and how you can solve them.
Link Not Clickable
Ensure the link is entered in the "Website" field, not the bio text.
If your link isn’t clickable, the first thing to check is where you’ve added it. Instagram only makes links clickable when they’re in the "Website" field. If you’ve placed it in the bio text instead, it’ll just appear as plain text.
To fix this, go to your profile, tap "Edit Profile," and paste your blog link into the "Website" field. Save the changes, and your link should now be clickable.
Quick Tip: Double-check your profile after saving to confirm the link works as expected.
Check for typos or formatting errors in the URL.
Sometimes, a simple typo can break your link. Missing a letter, adding an extra character, or forgetting "https://" can make the URL invalid. Carefully review your link for errors.
For example, "www.myblogcom" won’t work, but "https://www.myblog.com" will. If you’re unsure, copy the link from your browser’s address bar to avoid mistakes.
Link Not Working
Verify your blog is live and accessible.
If your link doesn’t work, the issue might not be with Instagram. Your blog could be down or experiencing technical problems. Open your blog in a browser to see if it loads properly.
If it doesn’t, contact your hosting provider or check for maintenance updates. A live and accessible blog is essential for your link to function.
Test the link on different devices and browsers.
Sometimes, a link works on one device but not another. Test your blog link on a phone, tablet, and computer. Use different browsers like Chrome, Safari, or Firefox to ensure compatibility.
Pro Tip: Ask a friend to test the link too. They might catch issues you missed.
Instagram Blocking Links
Avoid using shortened links that may be flagged as spam.
Instagram’s algorithm can flag certain links as spam, especially if they’re shortened URLs like "bit.ly" or "tinyurl." These links are often associated with scams, so Instagram might block them to protect users.
Instead, use your full blog URL or a branded domain. A clear and professional link is less likely to be flagged.
Use a secure HTTPS link to prevent blocking issues.
Instagram prefers secure links. If your blog URL starts with "http://" instead of "https://," it might get blocked. The "s" in "https" stands for secure, and it shows that your site is safe for users.
To switch to HTTPS, contact your hosting provider or use a free SSL certificate from platforms like Let’s Encrypt. Once updated, replace the old link in your Instagram bio.
Did You Know? Instagram sometimes blocks links due to sensitive content or keywords. Here are a few real-life examples:
An educational account was banned because of sensitive keywords in a live broadcast title. After explaining the misunderstanding and proving compliance, the account was unblocked.
A fitness account shifted its content focus for two weeks after a ban, which helped restore its ad privileges and organic traffic.
Regular content reviews helped an educational institution avoid bans by removing outdated sensitive keywords.
By staying proactive and following these tips, you can avoid Instagram’s link-blocking issues and keep your blog accessible to your audience.
Final Thought: Troubleshooting might seem tedious, but it’s worth the effort. A working blog link ensures your audience can easily connect with your content, boosting your blog’s visibility and engagement.
Adding your blog link to your Instagram bio is a simple yet powerful way to grow your audience. It’s not just about visibility—it’s about creating a direct path for your followers to engage with your content. Did you know that 40% of shoppers discover products through organic Instagram posts? Plus, 32.4% of brands use "link in bio" to drive traffic.
Highlight your best content to grab attention.
Keep your landing page visually aligned with your brand.
Use analytics tools to track clicks and conversions.
Take the first step today. A well-placed link can turn casual scrollers into loyal readers!
FAQ
What is the best type of link to add to my Instagram bio?
A direct link to your blog or a branded domain works best. It looks professional and builds trust. Avoid shortened links like "bit.ly" as they might get flagged by Instagram.
Can I change my blog link anytime?
Yes, you can update your link whenever you want. Just go to "Edit Profile," replace the old link in the "Website" field, and save the changes.
Why isn’t my link clickable?
Make sure you’ve added the link in the "Website" field, not the bio text. Instagram only makes links in the "Website" field clickable. Double-check for typos or formatting errors too.
Are link aggregator tools free to use?
Most tools like Linktree and Beacons offer free plans with basic features. However, advanced options like custom domains or detailed analytics usually require a paid subscription.
How often should I update my Instagram bio link?
Update it regularly to reflect your latest blog post, campaign, or content. Keeping it fresh encourages your audience to click and stay engaged with your blog.
Can I track how many people click my bio link?
Yes! Use Instagram Insights if you have a business account. You can also add UTM parameters to your link and track clicks through Google Analytics.
What should I do if Instagram blocks my link?
Switch to a secure HTTPS link and avoid using shortened URLs. If the issue persists, check Instagram’s guidelines or contact their support team for help.
Do I need a branded domain for my blog link?
It’s not mandatory, but it’s highly recommended. A branded domain makes your link look professional and trustworthy, which can increase clicks and engagement.
Pro Tip: A branded domain like "yourblog.com" is easier to remember and aligns with your personal branding.
See Also
A Complete Guide To Linking Your Blog On Instagram
Effective Strategies For Crafting A Winning Instagram Blog
Tips For Creating Engaging Instagram Posts To Boost Followers
Detailed Instructions For Crafting A Blog Post On Blogger
Creating Captivating Instagram Posts To Effectively Engage Readers