Run LLMs Locally with Google Gemma: A Step-by-Step Guide

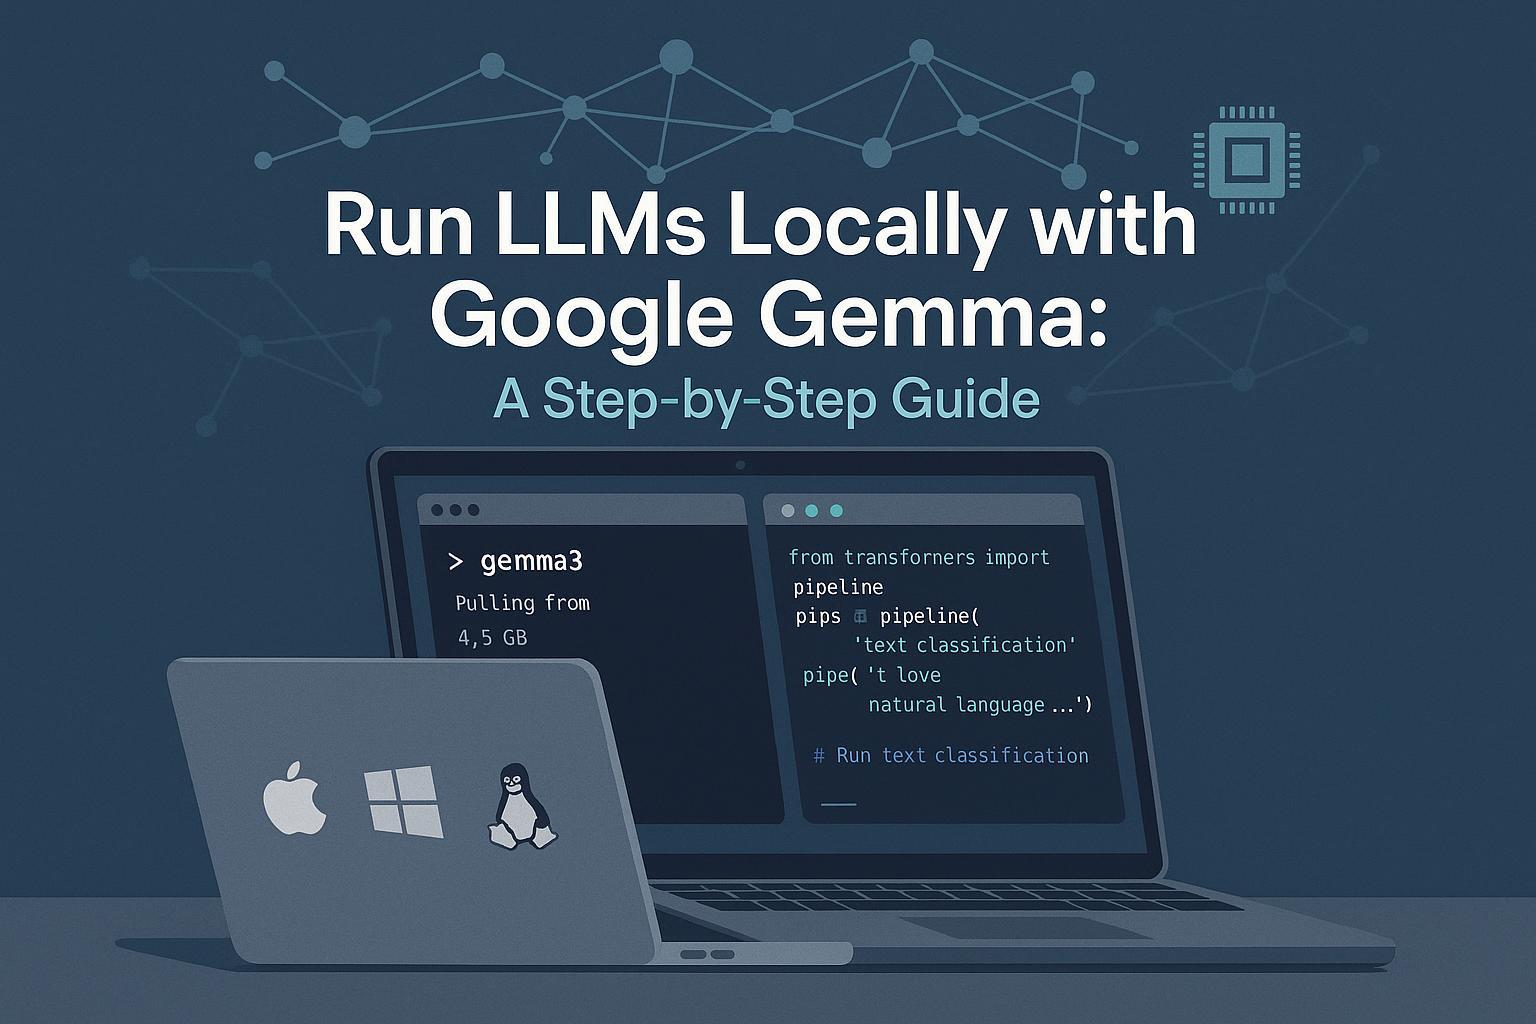
If you want a fast, private way to experiment with large language models on your own machine, Google’s open‑weight Gemma family is a great choice. In this hands-on tutorial, you’ll set up Gemma locally using three common paths—Ollama (quickest), Hugging Face Transformers (Python-first), and llama.cpp (GGUF, great for CPU/low‑VRAM). We’ll include platform notes for macOS, Windows, and Linux, plus verification checkpoints and troubleshooting.
What you’ll achieve
- Install a local runtime and pull a Gemma model
- Run a prompt and get a response entirely on-device
- Optionally enable GPU acceleration if supported
- Know how to troubleshoot licenses, drivers, and memory limits
Difficulty: Beginner-to-intermediate. Time: 30–90 minutes depending on downloads and GPU drivers.
Why Gemma? Google positions Gemma as an efficient, open‑weight model family designed for both local and cloud use; the official overview and quickstart are in the Google AI for Developers – Get started with Gemma (2025) and the Gemma 3 announcement on the Google blog (2025). Model sizes and variants evolve—always check the current model card or library entry before you pull.
Pick your path
- Ollama: easiest cross‑platform quick start. Great for trying models fast, with an HTTP API out of the box.
- Hugging Face Transformers: most flexible for Python projects; ideal if you want to script, customize, or integrate into code.
- llama.cpp (GGUF): highly efficient CPU option and portable binaries; use community‑converted GGUF models when you don’t have lots of VRAM.
You can start with Ollama for a smoke test, then move to Transformers for code-driven control, and keep llama.cpp as a lightweight alternative.
Method A — Ollama quick start (macOS, Windows, Linux)
Ollama offers the fastest way to run Gemma locally. Google documents this integration in Run Gemma with Ollama (Google AI for Developers, 2025), and the Gemma 3 entries live in the Ollama library – Gemma 3.
Step A1 — Install Ollama
- macOS or Linux (official script):
curl -fsSL https://ollama.com/install.sh | sh - Windows: Download and run the installer from the Ollama downloads page.
Verification checkpoint:
ollama --version
You should see a version string. If not, revisit the downloads page.
Tip: If you plan to call Ollama programmatically, you might enjoy this deeper explainer on serving and API usage: Setting up Ollama Serve: Local LLMs step-by-step.
Step A2 — Pull a Gemma 3 model
Model tags and sizes can change; check the library page for available variants. A general pull command is:
ollama pull gemma3
If variants like 1b, 4b, or 12b appear in the library, you can pull a specific size, for example:
ollama pull gemma3:12b
Verification checkpoint:
ollama list
You should see an entry such as gemma3 (or gemma3:12b) with a SIZE column.
Note: Large models can take time to download. Don’t worry if it’s slow—that’s normal.
Step A3 — Run interactively
ollama run gemma3
Type a prompt (for example: “Write a two‑sentence summary of local LLMs.”). You should see the model respond in a few seconds to a minute depending on hardware.
Step A4 — Call the local API
Ollama exposes an HTTP API at http://localhost:11434.
curl http://localhost:11434/api/generate -d '{
  "model": "gemma3",
  "prompt": "List three uses for local LLMs.",
  "stream": false
}'
You should receive a JSON response with generated text. For a walkthrough on automating workflows, see Maximizing Data Analysis with Ollama API.
Step A5 — GPU acceleration notes
- macOS (Apple Silicon): Metal acceleration is automatic; no extra drivers are needed according to the Ollama GPU support page.
- Windows/Linux: Keep NVIDIA drivers up to date; Ollama detects compatible GPUs when CUDA is properly installed. AMD support is evolving—refer to the same GPU support page for details.
If performance seems CPU‑bound, confirm your GPU is available and drivers are current. Docker users should enable GPU passthrough per Ollama’s docs.
Encouragement: If you reached a response in A3 or a JSON in A4, you’ve successfully run Gemma locally—nice work.
Method B — Hugging Face Transformers (Python-first)
This path is ideal when you want more control in code. Before attempting downloads in Python, you usually need to accept Google’s license on the specific model page and authenticate with a Hugging Face token. The requirement is outlined on model cards like google/gemma-3-1b-it (Hugging Face model card, 2025) and token management is documented in Hugging Face security tokens.
Step B1 — Prepare your Python environment
Create a virtual environment (optional but recommended) and install the essentials.
python -m venv .venv
source .venv/bin/activate    # macOS/Linux
# On Windows (PowerShell):
# .venv\Scripts\Activate.ps1

pip install --upgrade torch transformers
Verification checkpoint:
python -c "import transformers, torch; print(transformers.__version__, torch.__version__)"
You should see version numbers printed. If torch fails to import on Windows/Linux with an NVIDIA GPU, ensure your PyTorch build matches your CUDA setup.
Step B2 — Accept license and authenticate to Hugging Face
- In your browser, open the Gemma model card (for example, the instruct variant above). Click to agree to Google’s license if prompted.
- Log in from your terminal:
huggingface-cli login --token YOUR_HF_READ_TOKEN
Verification checkpoint:
huggingface-cli whoami
You should see your HF username.
Step B3 — Minimal text generation with Transformers
The following example loads a small instruction‑tuned Gemma 3 variant and generates text. It automatically places the model on CPU/GPU depending on availability.
import torch
from transformers import AutoTokenizer, AutoModelForCausalLM

model_id = "google/gemma-3-1b-it"  # Verify current availability on the model card

# Load tokenizer and model
tokenizer = AutoTokenizer.from_pretrained(model_id)
model = AutoModelForCausalLM.from_pretrained(
    model_id,
    torch_dtype="auto",
    device_map="auto"
)

prompt = "Explain the difference between CPU and GPU in one paragraph."
inputs = tokenizer(prompt, return_tensors="pt")
outputs = model.generate(**inputs, max_new_tokens=150)
print(tokenizer.decode(outputs[0], skip_special_tokens=True))
Expected result: A coherent paragraph comparing CPU vs. GPU. If you see out‑of‑memory errors, reduce max_new_tokens, switch to a smaller model, or ensure your GPU drivers and CUDA are correctly installed.
Notes:
- Apple Silicon users can try
device="mps"via.to("mps")pathways in PyTorch; behavior varies by version. - For multimodal (image+text) tasks, confirm current APIs in the Transformers Gemma 3 model documentation and install
pillowif needed. Interfaces evolve; check the docs before coding.
Encouragement: If you saw a generated paragraph, your Python setup is working—great job.
Method C — llama.cpp with GGUF (efficient CPU option)
llama.cpp provides highly optimized inference and supports Metal (macOS) and CUDA (Windows/Linux). Build instructions and flags are documented in the llama.cpp GitHub README.
Step C1 — Build with acceleration
- macOS (Metal):
git clone https://github.com/ggerganov/llama.cpp cd llama.cpp LLAMA_METAL=1 make - Linux/Windows (CUDA):
git clone https://github.com/ggerganov/llama.cpp
cd llama.cpp
LLAMA_CUDA=1 make
Verification checkpoint:
./main -h
You should see usage help.
Step C2 — Obtain a Gemma GGUF model
GGUF files for Gemma are community conversions hosted on Hugging Face; quality and freshness can vary. Make sure your use complies with Google’s license by reviewing the official Gemma model pages before downloading. After identifying a suitable GGUF file, you can download it with the HF CLI:
pip install huggingface-hub
huggingface-cli download <repo-owner>/<repo-name> <filename.gguf> \
  --local-dir . --local-dir-use-symlinks False
Tip: Start with a quantized file (e.g., Q4_K_M) for laptops and CPU‑only machines.
Step C3 — Run inference
- CLI example:
./main -m ./gemma-variant.Q4_K_M.gguf -p "Write a haiku about local LLMs." -n 100 - Python bindings (optional):
from llama_cpp import Llama
llm = Llama(model_path="./gemma-variant.Q4_K_M.gguf")
print(llm("List two privacy benefits of local inference."))
Quantization guideposts:
- Q4_K_M: balanced size/quality—good default for many laptops
- Q5_K_M: slightly better quality, larger size
- Q8_0: near‑full precision—largest, needs more memory
Encouragement: If tokens print to your terminal, your GGUF build is working—nice.
Troubleshooting quick reference
| Symptom | Likely cause | Fix |
|---|---|---|
| HTTP 403 or “permission denied” when pulling via Transformers | You haven’t accepted the model’s license or authenticated | Open the specific Gemma model card on Hugging Face and agree to Google’s license (for example, the 1B instruct card). Then authenticate using a token as described in Hugging Face’s security tokens docs. |
| Slow performance, GPU seemingly unused (Ollama) | Missing/old GPU drivers or unsupported backend | Update NVIDIA drivers (Windows/Linux). On macOS Apple Silicon, Metal is automatic per the Ollama GPU page. Re-run and check logs. |
| Out of memory (OOM) errors | Model too large or generation/context too long | Choose smaller models or quantized variants; reduce max_new_tokens and context length; close other GPU apps. |
| llama.cpp build fails | Toolchain/CUDA/Metal not configured | Follow the flags in the README (LLAMA_CUDA=1, LLAMA_METAL=1), install the CUDA toolkit or Xcode Command Line Tools as applicable, and rebuild. |
If you’re scripting against the local API and run into port or networking questions, this explainer can help: Solving Ollama Port Issues: Custom Port Configuration.
Verification checklist (recap)
-
Ollama
ollama --versionshows a versionollama pull gemma3completes without errorsollama run gemma3returns text to your prompt- Optional:
curl localhost:11434/api/generatereturns JSON
-
Transformers
pip install torch transformerssucceeds and imports- You accepted the license on the Gemma model card and
huggingface-cli whoamishows your username - The Python snippet prints a coherent paragraph
-
llama.cpp
./main -hshows usage- Your GGUF file exists and loads
- CLI or Python produces tokens in response to a prompt
Managed alternative (FYI)
If you prefer not to manage local drivers or hardware, Google Cloud’s managed endpoints let you use Gemma without local setup. See Use Gemma open models on Vertex AI for the current workflow to deploy and infer from an endpoint. It’s convenient for production integrations, but remember to clean up resources to avoid charges.
Final tips
- Start small: pull a smaller instruct variant first to confirm everything works, then scale up.
- Keep drivers current: GPU acceleration hinges on proper driver/toolkit versions.
- Mind memory: longer contexts and larger models consume more RAM/VRAM—tune generation length accordingly.
- Check official docs when uncertain: Google’s Gemma quickstart and Ollama’s Gemma 3 library page are authoritative starting points.
Optional background reading on local model families and tradeoffs: Alpaca and LLaMA models on local computers.
You’re all set—choose the path that fits your workflow, run a quick prompt, and iterate. Local LLMs give you privacy, control, and snappy prototyping right on your machine. Enjoy building!