Incrementality Testing: A Beginner-Friendly Guide to Measuring True Ad Lift

If you’ve ever looked at “ROAS” in your dashboard and wondered, “But how much of this would have happened anyway?” — you’re in the right place. This guide will help you run your first incrementality test with confidence, using plain language and pragmatic steps.
Incrementality is simply this: how much extra outcome (sales, sign-ups, revenue) happened because of your ads, beyond what would have happened without them. It’s about causation, not correlation. For a concise framing, see the marketer-friendly overview from Think with Google on incrementality testing.
Why now? With ongoing privacy changes and reduced tracking granularity, attribution reports can feel noisier. Experiments still work because they compare groups rather than rely on user-level tracking. Google’s privacy initiatives describe how aggregated reporting and deliberate noise change what you can see at the user level, pushing teams toward causal experiments for reliability; see Google’s Privacy Sandbox Attribution Reporting design decisions.
The 2‑minute explanation: what incrementality really means
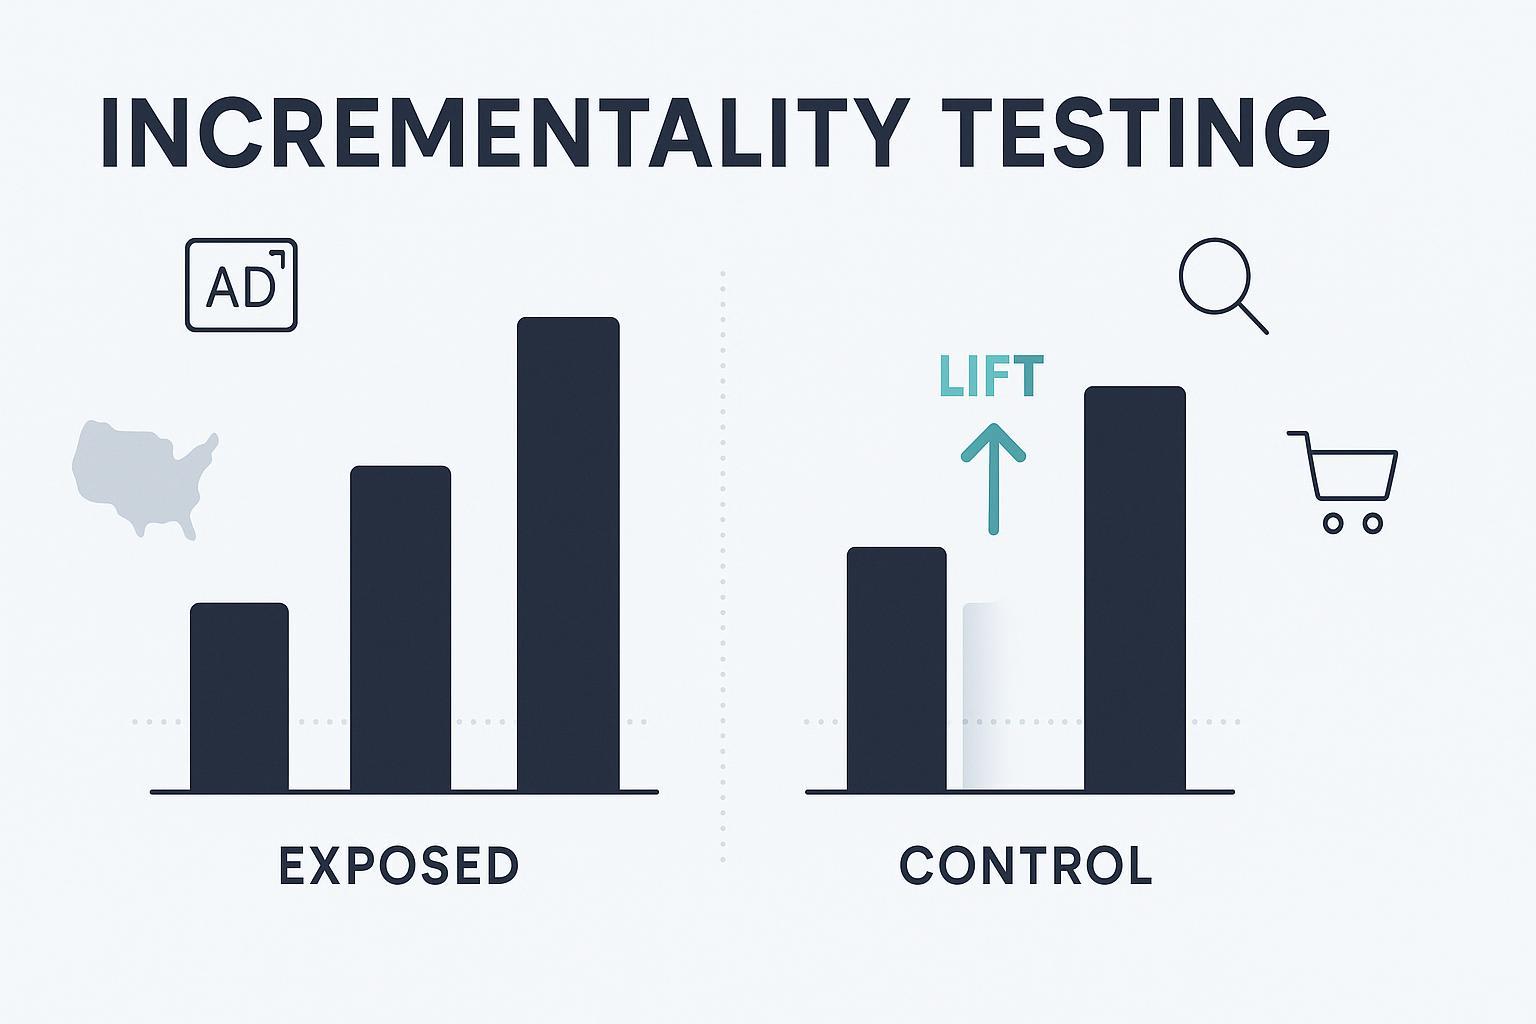
- You split eligible audiences (or geographies) into two groups: one can see your ads (exposed), the other cannot (control).
- After a set period, you compare outcomes. The difference is the incremental lift caused by the ads.
- Example: exposed group = 100 purchases, control group = 80 purchases → incremental sales = 20 caused by ads.
That’s all incrementality is—an apples-to-apples comparison that isolates the true effect of your advertising.
Incrementality vs. attribution vs. classic A/B tests
- Attribution: assigns credit across touchpoints on a customer path. Useful for budgeting and path insights, but it doesn’t prove your ads created net-new outcomes.
- A/B tests: compare variants (Creative A vs. B) to see which performs better—but they can’t tell you whether “running ads at all” created incremental outcomes beyond a no-ad baseline.
- Incrementality tests: include a genuine control group that doesn’t see ads, so you can measure causal lift. For background, see the plain-language framing in Think with Google’s overview of incrementality testing.
Pick your first test: platform lift or geo holdout?
If you’re just starting, you have two reliable beginner paths. Choose one based on your constraints and goals.
-
Choose platform-native lift if:
- You already spend on Google/YouTube or another major platform.
- You can randomize at the user level within that platform.
- You want the fastest path to a causal read with setup guardrails.
- Example: Google Ads Conversion Lift (user-based or geo-based) measures incremental conversions and value; see the official summary in About Google Ads Conversion Lift.
-
Choose a geo holdout if:
- You need channel-agnostic readouts (cross-channel effects, TV + digital, etc.).
- User-level randomization isn’t possible or allowed.
- You’re comfortable comparing regions over time. A simple, robust start is Difference-in-Differences (DiD). For an approachable primer, see Scott Cunningham’s Mixtape chapter on DiD.
Don’t stress—both are valid. Start where you have the least friction, then expand.
Setup checklist for a valid beginner test
Use this quick checklist to avoid common traps.
-
Define one primary KPI
- Pick the single outcome that matters most (e.g., purchases, subscription starts). Don’t measure everything at once.
-
Clarify eligibility and exposure rules
- Who is eligible to see the ad? Who must be excluded? How will the platform or your geo design keep the control group unexposed?
-
Choose control design
- Platform lift: platform creates a randomized control that doesn’t see your ads.
- Geo holdout: select similar geographies, keeping spillover minimal.
-
Decide duration and sample size sanity check
- Run long enough to detect a plausible lift. Platform tools show feasibility indicators; Google labels feasibility for lift studies in-product. When in doubt, extend duration.
-
Avoid noisy windows
- Skip holidays, big promos, or unusual events. These can swamp your signal.
-
Pre-commit decisions
- Before you start, write down your KPI, test window, and “decision rules” (e.g., we’ll scale if iROAS is positive with adequate certainty).
-
Tagging/measurement readiness
- For platform lift, ensure conversion tracking is working. For geo tests, assemble clean, comparable data (by week) for all regions.
Walkthrough A: Your first platform lift test (Google Ads/YouTube)
This is the fastest, most beginner-friendly path if you already spend on Google.
What it measures
- Incremental conversions, relative lift, and incremental conversion value; geo-based studies can also report incremental ROAS (iROAS). See the official definitions in Google’s Conversion Lift metrics documentation.
High-level steps (geo example)
- Confirm conversion tracking works (Google tag or offline imports if relevant).
- Pick test campaigns and avoid overlapping promos.
- In Google Ads, create a Conversion Lift study and choose the geo option; the interface will guide you through dates, campaigns, and KPIs. Detailed instructions are in Set up Conversion Lift based on geography.
- Review feasibility status; “High” feasibility is ideal for conclusive reads.
- Launch and let it run without changes to targeting/budget mid-test if possible.
- Read results: incremental conversions, incremental value, relative lift, and (for geo) iROAS. The lift view also reflects whether results were conclusive or lacked enough data.
Notes on methodology and guardrails
- Google can randomize at the user level or at geographic units (GMAs) designed to reduce spillover. For an overview of the product and study types, use About Google Ads Conversion Lift.
Brand and Search Lift options (YouTube/Google)
- If your goal is brand awareness, survey-based Brand Lift measures attitudinal changes (e.g., ad recall, awareness) between exposed and control groups. Google also reports a “certainty” metric (a measure of statistical confidence) in eligible accounts; see Brand Lift methodology and certainty (Google DV360 Help).
- If your goal is to increase intent, Search Lift measures changes in brand/product search behavior among exposed vs. control. See the Google Ads Search Lift methodology and certainty page for how certainty is determined.
Pro tip
- If a first test looks underpowered, consolidate budget into fewer campaigns, extend duration, or work with your account team to improve feasibility before launching again.
Walkthrough B: A lightweight geo test (DiD) — and when to level up
A geo holdout can give you a channel-agnostic read when user-level randomization isn’t an option.
Quickstart (Difference-in-Differences)
- Pick comparable regions with stable pre-test trends.
- Gather pre-period data (e.g., 8–12+ weeks) for the KPI in all candidate geos.
- Assign treatment geos (see ads) and control geos (no ads) with buffers to minimize spillover.
- Run for 2–6+ weeks, avoiding major holidays/promos.
- Compute DiD: (Treated_after − Treated_before) − (Control_after − Control_before). For intuition and visuals, see Cunningham’s Mixtape chapter on DiD.
- If results are noisy, increase duration or number of geos.
Level up when things get complex
- Synthetic control (Meta’s GeoLift): When geos differ more than you’d like, synthetic control builds a weighted “synthetic” control from many units. It also includes power tools and simulation utilities to plan study. Read the official methodology in Meta’s open-source GeoLift documentation.
- Bayesian hierarchical modeling (Google’s Meridian): For large-scale geo measurement, Meridian models many geos jointly and accounts for seasonality and other controls. See the modeling approach in Google’s Meridian model specification.
When to stop and rethink
- If treated and control geos don’t share pre-period trends, basic DiD may mislead—consider synthetic control or refine geo selection.
Reading results: lift, iROAS, and certainty
Here’s how to translate outcomes into decisions:
-
Incremental lift (absolute and percent): The net-new conversions or value and the percentage difference vs. the control baseline. Platform reports will compute this for you.
-
iROAS (incremental ROAS): Incremental conversion value divided by incremental cost. It’s reported in Google’s geo-based Conversion Lift results; see the iROAS context in Conversion Lift metrics (Google Ads Help).
-
Certainty/confidence: Some lift products display a “certainty” or confidence measure indicating how likely the observed lift is not due to chance. For definition and thresholds in Google’s ecosystem, see Brand Lift methodology and certainty and the Google Ads Search Lift methodology page.
Decision patterns
- Strong positive lift and positive iROAS: Scale budgets, capture learning in your test plan, and consider replication.
- Borderline or mixed results: Investigate segments, extend duration, or iterate creative/targeting. Pre-commit decision rules helps here.
- No lift with adequate power: Revisit messaging, audience fit, or channel mix before retrying.
Common beginner mistakes (and how to fix them)
-
Underpowered tests
- Symptom: “Not enough data” or wide confidence intervals. Fix by increasing budget, consolidating campaigns, adding geos, or extending duration.
-
Control contamination
- Symptom: Control users still see ads or geos leak into each other. Fix by relying on platform’s randomized controls or using wide geographic buffers.
-
Seasonal and promo overlap
- Symptom: Big seasonal spikes swamp the treatment effect. Fix by avoiding holidays and unstable windows; include a pre-period and sanity-check trends.
-
KPI mismatch
- Symptom: Optimizing for clicks but measuring purchases. Fix by aligning optimization and the primary KPI; ensure your outcome is actually influenced by the ads in your test window.
-
Changing the plane mid-flight
- Symptom: Major targeting or budget changes during the test create moving baselines. Fix by making changes only between tests, or document and adjust interpretation.
-
Reading raw conversion rates without a baseline
- Symptom: Declaring victory (or failure) without comparing to control. Fix by always computing incremental lift vs. control or using platform reports.
Mini glossary (plain language)
- Incrementality: The extra results caused by your ads beyond what would have happened anyway.
- Control group: People or geographies deliberately kept from seeing the ads during the test.
- Lift: The difference in outcomes between exposed and control groups.
- iROAS: Incremental ROAS = incremental value ÷ incremental cost.
- Difference-in-Differences (DiD): A method that compares before/after changes between treated and control geos.
- Synthetic control: A method that builds a weighted “synthetic” control from many geos to improve apples-to-apples comparisons.
- Certainty/confidence: A measure of how unlikely the result is due to random chance.
Next steps and curated resources
Practical starting points
-
Platform-native lift for causal reads inside Google:
- Overview: About Conversion Lift (Google Ads Help)
- Setup (geo): Set up Conversion Lift based on geography
- Metrics: Conversion Lift metrics definitions, including iROAS
- Brand/intent: Brand Lift methodology and certainty and Search Lift methodology
-
Geo methods and modeling:
- Primer: Mixtape chapter on Difference-in-Differences
- Synthetic control: Meta’s GeoLift methodology
- Large-scale geo modeling: Google’s Meridian model specification
-
Privacy context and why experiments matter:
- Aggregation/noise background: Privacy Sandbox Attribution Reporting design decisions
-
Retail/media advanced path:
- Amazon’s stack for privacy-safe analysis: AWS industry blog on Amazon Marketing Cloud integrations
How to document your test plan and results (soft suggestion)
- You’ll need a clear, shareable test plan and a simple post-test memo. Tools you can use:
- QuickCreator for a lightweight, collaborative write-up of your hypothesis, setup checklist, and learnings. Disclosure: QuickCreator is our product.
- Notion AI if your team already lives in Notion and wants AI-assisted summaries/checklists.
- Google Docs + Gemini for simple, shareable documents inside Google Workspace.
- Confluence for enterprise documentation with permissions and versioning.
Try this now
- Pick one channel and one KPI.
- Choose platform lift if you already spend on Google; choose geo holdout if you need channel-agnostic.
- Pre-commit your decision rule (e.g., scale if iROAS > 1 with adequate certainty) and run your first 2–6 week test.
You’ve got this. Small, clean experiments beat complicated dashboards—every time.