How to Automate Your Blog Creation Using AI

If you’re stretched thin but want to publish consistently, AI-driven automation can turn your blog into a dependable publishing machine—without sacrificing quality or risking search visibility. In this guide, I’ll show a policy-aware workflow you can implement with mainstream tools, plus the guardrails that keep content helpful, trustworthy, and compliant.
Foundations: Policy, Quality, and Trust
Google doesn’t penalize content simply because it’s AI-generated. What matters is whether it’s helpful, original, and people-first. The March 2024 core update and spam policy revisions explicitly target scaled content abuse—mass-produced, unoriginal pages designed to manipulate rankings—regardless of whether a human or AI wrote them. See Google’s own explanations in the core update and spam policies overview (March 2024).
Practically speaking, demonstrate experience and expertise, cite credible sources, and add unique insights. Avoid thin, derivative “spun” content and doorway pages. Maintain author bios, reviewer logs, and change histories to show accountability.
Google’s recent guidance on succeeding in AI-assisted search emphasizes originality, firsthand experience, and depth. Align your workflow with Google’s “Succeeding in AI Search” guidance (May 2025) and their framing on using generative AI content responsibly. Disclosure isn’t required for Search, but don’t misrepresent provenance or attempt to deceive users; see Google’s Generative AI Use Policy.
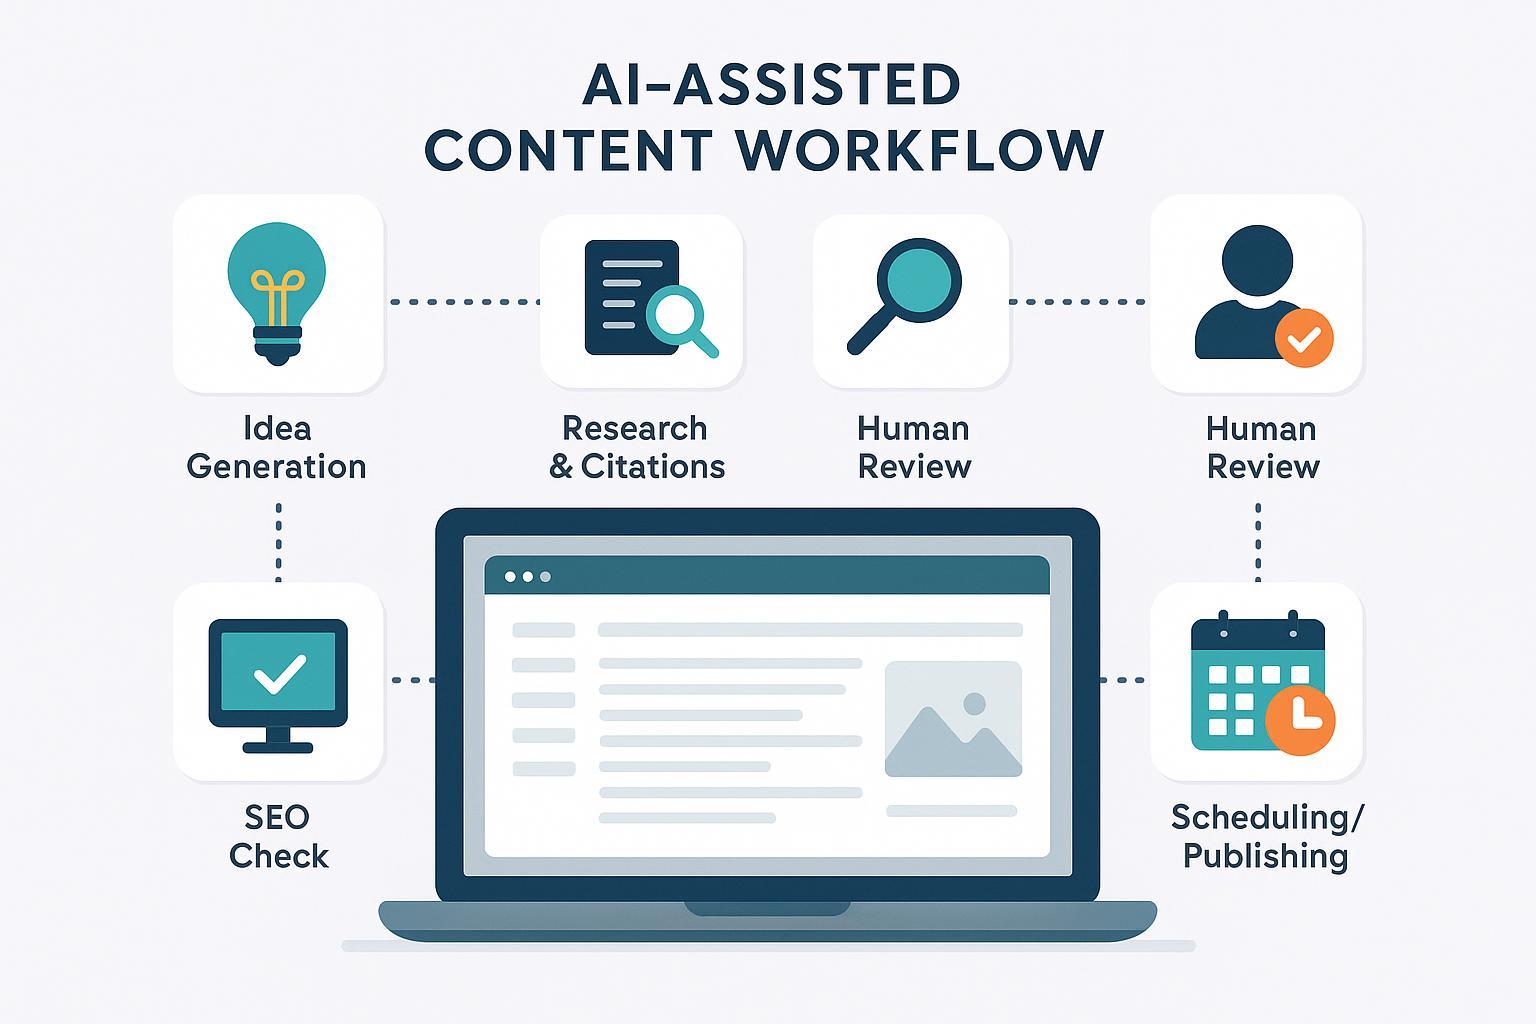
The End-to-End Workflow (Step-by-Step)
Step 1: Ideation and brief
Define the audience persona, search intent, and success criteria for each post. Use an AI assistant to produce an outline, then validate topics with a keyword tool. Start a source log with 3–6 credible references you’ll cite. Capture the “unique angle” and lived experience you’ll add—this is your anti-thin-content safeguard.
Step 2: Drafting with retrieval augmentation (RAG)
Pull trusted references—company docs, interviews, reputable public sources—and feed them into your drafting process. Enforce citation output in the draft. Have the model summarize evidence and propose examples, then add firsthand experience, anecdotes, or data points to elevate the draft beyond commodity summaries.
Step 3: Two-pass human review
Pass 1 focuses on facts and lived experience: fact-check claims against the source log, inject examples, and cut weak sections. Pass 2 focuses on structure and SEO: tighten headings, ensure intent coverage, add internal links, check accessibility (alt text, contrast), and prepare JSON-LD Article schema.
Step 4: Asset generation
Create a featured image and any supporting diagrams. Compress images, name files descriptively, and write clear alt text. Keep visuals on-brand and accessible.
Step 5: CMS prep (WordPress focus, adaptable elsewhere)
Use your orchestrator (Zapier, Make, n8n) or direct REST calls to create a draft and populate key fields. Lock critical elements like title and slug so accidental changes don’t break links. Add internal links, meta description, and JSON-LD structured data. If you plan to schedule, set status to “future” with a proper timestamp.
Step 6: Release gates and compliance checks
Automate plagiarism checks, broken link validation, word count/readability thresholds, and policy guardrails (avoid doorway pages and stuffing). Only move from draft to publish after a human approves. Keep reviewer notes and version history.
Step 7: Scheduling and monitoring
Queue content thoughtfully, avoid bursts that look scaled and low-value. After publishing, monitor Search Console coverage, rankings, CTR, and engagement signals. Feed lessons back into your prompts and brief templates.
Tooling Choices: No-Code, Low-Code, and API
Different teams have different constraints. Here’s a quick, neutral comparison to choose your path.
| Orchestrator | Approval Gates | Retries/Backoff | Scheduling | Skill Level | Typical Cost |
|---|---|---|---|---|---|
| Zapier | Possible via multi-step + external apps | Limited; use Webhooks + external logic | Strong (via Zapier Scheduler) | Beginner–Intermediate | Subscription tiers |
| Make.com | Scenario pauses/routers; custom approvals | Via modules; needs careful design | Strong (scenario schedules) | Beginner–Intermediate | Subscription tiers |
| n8n | Manual/Wait nodes; robust controls | Native Retry on Fail + Error Trigger | Cron-like Schedule Trigger | Intermediate | Self-host or cloud |
| Direct REST | Fully custom (your app) | Fully custom | Fully custom | Advanced | Infra + dev time |
For n8n specifics, see the WordPress integration overview and HTTP Request node docs. Zapier’s Webhooks and WordPress options are outlined in Zapier’s integration pages.
WordPress REST API Essentials (Without the Jargon)
You can create, schedule, and update posts directly via the WordPress REST API. These are the core concepts you’ll use most:
Create a post (draft vs. publish): POST /wp-json/wp/v2/posts with fields like title, content, status (draft|publish|future), excerpt, author, categories, tags. Errors like 400/401/403 indicate invalid data, bad credentials, or insufficient permissions. See the official Posts reference.
Schedule a post: Use status=future and include a date in the site’s timezone. status=publish with a future date won’t schedule—it publishes immediately. Details in the Posts endpoint docs.
Upload media: POST /wp-json/wp/v2/media with correct headers (Content-Disposition, Content-Type), then attach by updating the post’s featured_media field. See Media endpoint reference.
Authentication: Application Passwords (HTTPS, least privilege) are common; OAuth/JWT via plugins if policy requires tokens. Review the authentication overview.
Think of it this way: your orchestrator prepares a payload (title, content, metadata), hands it to WordPress as a draft, and only after checks and approvals do you flip status to publish or future.
Governance and QA You Can Automate
Put guardrails in place so automation scales quality, not risk. Build E-E-A-T-aligned briefs that capture intent, sources, unique angles, and firsthand examples. Ensure author bylines and bios are present; keep reviewer logs and change history for accountability. Cap output to avoid scaled abuse signals; rotate sources and add original data. Use manual holds for sensitive or YMYL topics that require specialist review.
Automate these checks in your release gates:
- Citations for external factual claims
- Link validation and redirect checks
- Plagiarism/originality scans
- JSON-LD Article schema validation
- Accessibility basics (alt text, headings hierarchy, captions)
- Word count and readability thresholds
- Policy guardrails (doorway/spun content, stuffing, author page presence)
Troubleshooting and Recovery
Authentication failures (401/403) usually mean credentials, roles, HTTPS, or security plugins are blocking requests; confirm Application Passwords and permissions, and check WAF rules. See the WordPress authentication overview.
Rate limits or timeouts (429/ETIMEDOUT) call for retries/backoff, staggered runs, queueing, and smaller payloads. n8n’s Retry on Fail notes explain workable patterns.
Media upload errors (400/415) often trace to mismatched Content-Type or missing Content-Disposition headers; verify file size limits and allowed MIME types. See Media endpoint reference.
Scheduling issues typically involve status=future and timezone mismatches or WP-Cron not firing; managed hosts sometimes need server-side cron or tooling like WPVIP’s Cron Control.
Schema validation failures are best resolved by the Rich Results Test and keeping JSON-LD properties consistent with visible content. Start with Article structured data guidance.
Thin content signals require slowing throughput, adding unique insights/examples, and rotating sources; tighten your brief template to enforce distinct angles.
Metrics That Keep You Honest
Track editorial operations (approval time, rework rate, defect density, throughput caps), SEO performance (indexation coverage, impressions, CTR, average position, structured data impressions/errors), quality signals (citation completeness, originality percentage, number of firsthand examples, internal link health), and automation health (failure rate per step, mean time to recovery, retry counts, rate-limit hits). Use what you learn to tune prompts, briefs, and gates.
Kickstart: Sample Prompt + Brief Skeleton
Sample prompt (for drafting with sources): “Write a blog post for [audience persona] on [topic] that answers [primary intent]. Incorporate insights from these sources: [source list], and cite them inline. Add two firsthand experience examples based on [our context]. Structure with H2/H3s, varied paragraph lengths, and keep passive voice under 20%. Propose 3 internal links and 2 external authoritative references.”
Brief skeleton (fields to capture): persona + intent; success criteria; unique angle + firsthand examples; source log; outline; SEO targets; compliance notes; publishing plan (draft vs. schedule date); post-checks required (plagiarism, links, schema, accessibility).
Ship safely, learn fast, and scale thoughtfully. Start with one workflow, add release gates, and iterate as you see performance and quality improve.